Hyperfocal Distance Calculator: How to Achieve Maximum Depth of Field for Landscape Photography Without Guesswork
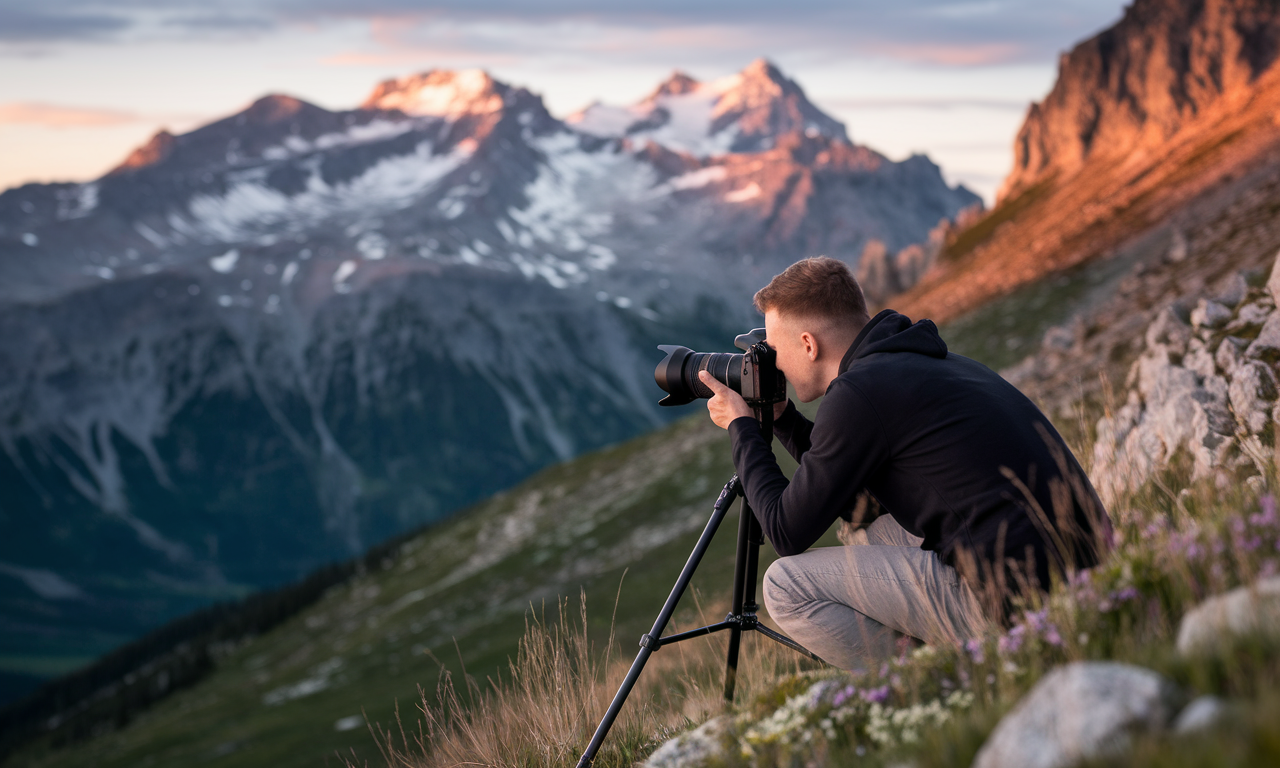
A hyperfocal distance calculator takes the guesswork out of achieving sharp focus. This tool helps landscape photographers capture everything in perfect focus from foreground to background. No more blurry landscapes or missed shots due to poor depth of field planning.
Understanding hyperfocal distance changes your approach to landscape photography. You'll know exactly where to focus for maximum sharpness. This knowledge saves time in the field and improves your success rate.
Modern calculators work with any camera and lens combination. They consider focal length, aperture settings, and sensor size. The result is precise focusing distances for any shooting situation.
Step-by-Step Guide
Download and Set Up Your Calculator
Choose a reliable hyperfocal distance calculator app for your smartphone. Many free options work well for field use. Install the app before your photography trip to test its features.
Enter your camera's sensor information during setup. Full-frame, APS-C, and micro four-thirds sensors all have different calculations. This step ensures accurate results for your specific gear.
Test the app with your most-used lenses before heading out. Practice entering different focal lengths and aperture values. Familiarity with the interface saves valuable time during shoots.
Input Your Camera Settings
Start by entering your lens focal length into the calculator. Wide-angle lenses have different hyperfocal distances than telephoto lenses. Accuracy here determines the quality of your final calculation.
Select your desired aperture setting next. Smaller apertures like f/11 or f/16 increase depth of field photography coverage. However, very small apertures may introduce diffraction that reduces sharpness.
Consider your acceptable circle of confusion value. Most calculators use standard values for different sensor sizes. Advanced users can adjust this setting for stricter or more relaxed sharpness standards.
Calculate and Apply the Distance
The calculator displays your hyperfocal distance in feet or meters. This number represents where you should focus your lens. Everything from half this distance to infinity focus will appear acceptably sharp.
Set your lens to manual focus mode before applying the distance. Autofocus systems may hunt or focus on the wrong area. Manual control ensures precision when setting the calculated distance.
Use your lens distance scale or live view magnification to set focus. Some photographers prefer measuring the actual distance to a subject. Either method works as long as you match the calculated value.
Practical Applications
Mountain Landscape Photography
Mountain scenes often include foreground rocks, middle-ground valleys, and distant peaks. Traditional focusing methods struggle with this range. A hyperfocal calculator ensures everything stays sharp without focus stacking techniques.
Wide-angle lenses work best for mountain landscapes. Their shorter focal lengths create closer hyperfocal distances. This means more of your scene falls within the sharp zone.
Consider wind and changing light when shooting mountains. Calculate your settings before arriving at your shooting position. Weather changes quickly in mountain environments, leaving little time for complex calculations.
Seascape and Beach Photography
Beach scenes present unique challenges with wet sand, waves, and distant horizons. Salt spray threatens your equipment, making quick setup essential. Hyperfocal calculations speed up your workflow significantly.
Water reflections and foam patterns add visual interest to seascapes. Sharp focus throughout the scene captures these details effectively. Blurry foreground elements reduce the impact of these compositional elements.
Tide timing affects your available shooting time at many locations. Pre-calculate settings for different focal lengths and apertures. This preparation maximizes your productive shooting time during optimal conditions.
Forest and Woodland Scenes
Forest photography often involves layered compositions with multiple depth planes. Tree trunks, understory plants, and canopy details all compete for attention. Proper hyperfocal focusing keeps all elements sharp and engaging.
Low light conditions in forests require wider apertures than typical landscape photography tips suggest. This changes your hyperfocal distance calculations significantly. Balance depth of field needs with available light constraints.
Tips & Tricks
Optimize Your Aperture Settings
Most lenses perform best at apertures between f/8 and f/11. These settings provide good depth of field without excessive diffraction. Test your specific lenses to find their sweet spot for sharpness.
Avoid using the smallest apertures unless absolutely necessary. Settings like f/22 or f/32 introduce noticeable softness. This defeats the purpose of careful hyperfocal distance planning.
Consider your final output size when choosing apertures. Large prints reveal diffraction more easily than web images. Match your technical choices to your intended use of the photographs.
Work with Your Lens Characteristics
Ultra-wide lenses have very close hyperfocal distances. This makes achieving front-to-back sharpness easier. However, these lenses also introduce perspective distortion that affects composition.
Zoom lenses change their hyperfocal distance as you adjust focal length. Calculate settings for each focal length you plan to use. Don't assume one calculation works for the entire zoom range.
Prime lenses often provide better optical quality than zoom lenses. Their fixed focal length simplifies hyperfocal calculations. Consider carrying multiple prime lenses for different compositions.
Field Efficiency Strategies
Pre-calculate common scenarios before leaving home. Create a reference chart for your most-used lenses and apertures. This saves battery life on your calculator app during long shooting sessions.
Practice estimating distances in the field. Many experienced photographers can judge hyperfocal distances visually. This skill develops over time with consistent use of calculated values.
Advanced Calculation Techniques
Some situations require modifications to standard hyperfocal calculations. Near-far focusing techniques split the difference between hyperfocal and infinity focus. This approach works well when your nearest subject is beyond half the hyperfocal distance.
Focus stacking offers an alternative when hyperfocal distance doesn't provide sufficient depth. Take multiple images at different focus points and blend them later. This technique works best with static subjects and stable camera positions.
Sample Scenario
Desert Sunrise Photography Setup
You're photographing a desert sunrise with cacti in the foreground and mountains on the horizon. Your camera has an APS-C sensor, and you're using a 16mm lens. The nearest cactus sits about 6 feet away.
Starting with f/8, your hyperfocal distance calculator shows a focus distance of approximately 4.5 feet. This means everything from 2.25 feet to infinity will appear acceptably sharp. The foreground cactus at 6 feet falls well within this range.
Set your lens to manual focus and adjust to the 4.5-foot mark. Use live view magnification to fine-tune the focus point. Take a test shot and review the entire image for sharp details from front to back.
Adjusting for Changing Conditions
As the sun rises, you want to change to f/11 for better lens performance. The new hyperfocal distance becomes approximately 3.3 feet. Everything from 1.65 feet to infinity stays sharp with this new setting.
The closer hyperfocal distance with f/11 provides extra safety margin for your composition. You could move closer to the foreground elements if desired. This flexibility helps create more dynamic compositions during the shoot.
Document your successful combinations for future reference. Note the focal length, aperture, and focus distance for similar scenes. Building this personal database speeds up future shooting sessions.
Key Do's for Effective Usage
Essential Best Practices
Always verify your camera sensor information in the calculator settings. Different sensor sizes significantly change the calculations. Wrong sensor data leads to incorrect focus distances and soft images.
Double-check your lens focal length, especially with zoom lenses. Small errors in focal length input create noticeable focus problems. Use the actual focal length rather than the lens marking when possible.
Test your calculated settings with a few practice shots. Review images at full magnification to confirm sharpness throughout the scene. This verification prevents disappointing results after long shooting sessions.
Advanced Usage Strategies
Create custom presets for your most common shooting scenarios. Many apps allow saving specific camera and lens combinations. This feature speeds up field work significantly.
Learn to estimate distances visually to speed up your workflow. Practice judging common distances like 3 feet, 6 feet, and 12 feet. This skill reduces dependency on measuring tools.
Consider environmental factors that might affect your calculations. High altitude, extreme temperatures, and humidity can influence lens behavior. Make minor adjustments based on field experience.
Common Mistakes to Avoid
Calculation Errors
Don't confuse focal length with lens name. A 24-70mm lens set to 35mm should use 35mm in your calculations. Using 24mm or 70mm produces incorrect results and soft images.
Avoid using crop factor conversions in your calculations. Most modern calculators account for different sensor sizes automatically. Adding your own crop factor creates double conversion errors.
Never assume one calculation works for all situations. Different focal lengths and apertures require separate calculations. Changing any variable means recalculating your hyperfocal distance.
Technical Implementation Problems
Don't focus beyond the calculated hyperfocal distance. Focusing at infinity wastes available depth of field. You lose sharpness in closer subjects without gaining anything in the distance.
Avoid relying solely on autofocus when applying hyperfocal distances. Autofocus systems may focus on the wrong area or hunt unsuccessfully. Manual focus provides the precision needed for this technique.
Don't ignore lens distance scales if your lens has them. These markings provide quick reference points for common hyperfocal distances. However, verify their accuracy with your specific camera body first.
Situational Awareness Issues
Never apply hyperfocal distance blindly without considering your composition. Some scenes benefit from selective focus rather than front-to-back sharpness. Choose your technique based on creative intent.
Avoid using extremely small apertures just to increase depth of field. Apertures like f/22 introduce diffraction that reduces overall image quality. Balance depth of field needs with optical performance.
Troubleshooting & FAQs
Why Are My Images Still Soft Despite Using Hyperfocal Distance?
Check your camera stability first. Camera shake affects sharpness more than focus errors. Use a sturdy tripod and proper shooting technique to eliminate movement blur.
Verify your lens is clean and free of condensation. Dirty or fogged optics create soft images regardless of perfect focus. Clean your lens elements regularly during outdoor shooting.
Review your calculator inputs for accuracy. Incorrect sensor size or focal length data produces wrong calculations. Most smartphone apps allow easy verification of these critical settings.
How Do I Handle Scenes with Very Close Foreground Elements?
Consider focus stacking when your nearest subject is closer than half the hyperfocal distance. This technique captures multiple focus points and blends them later. Modern photo editing software makes this process relatively simple.
Try repositioning yourself or using a wider lens to increase working distance. Sometimes stepping back creates better hyperfocal distance coverage. Wide-angle lenses also provide closer hyperfocal distances naturally.
Accept that some foreground elements may be slightly soft. Perfect technical sharpness isn't always necessary for compelling images. Sometimes slight foreground softness draws attention to sharper middle-ground subjects.
What Happens When Shooting at Different Altitudes?
High altitude affects lens behavior slightly due to air density changes. Most photographers won't notice these effects in normal shooting situations. Standard calculations remain accurate for typical landscape photography.
Cold temperatures can affect lens mechanics more than altitude. Manual focus rings may become stiff or less precise. Allow your equipment to acclimate to temperature changes gradually.
Can I Use Hyperfocal Distance with Telephoto Lenses?
Telephoto lenses have much longer hyperfocal distances than wide-angle lenses. This limits their usefulness for traditional landscape photography depth of field techniques. Consider these lenses for isolating specific subjects instead.
Use telephoto lenses for compressed landscape compositions where front-to-back sharpness isn't critical. Mountain photography often benefits from telephoto compression effects more than maximum depth of field.
Bringing It All Together
Building Your Field Workflow
Start each photography session by checking your calculator settings. Verify sensor type, focal length, and aperture values before making calculations. This habit prevents field errors that waste valuable shooting time.
Develop a consistent sequence for applying hyperfocal distance calculations. Check your composition, calculate the focus distance, set manual focus, and verify sharpness. This routine becomes automatic with practice.
Keep backup calculation methods available. Phone batteries die and apps crash during important shoots. Learn to use printed charts or memorize common hyperfocal distances for your favorite lenses.
Expanding Your Technical Skills
Combine hyperfocal distance knowledge with other landscape photography tips for better results. Understanding exposure, composition, and lighting remains equally important. Technical skills support creative vision rather than replacing it.
Practice hyperfocal calculations in different lighting conditions. Early morning and late evening shoots often require wider apertures. Learn to balance depth of field needs with available light constraints.
Mastering hyperfocal distance calculation transforms your approach to landscape photography. You'll spend less time guessing and more time creating compelling images. The confidence that comes from technical knowledge frees you to focus on creative expression.
Remember that perfect technical execution serves your artistic vision. Use hyperfocal distance as a tool to achieve your creative goals rather than an end in itself. The most successful landscape photographers combine technical skill with artistic sensitivity.