Travel Photography: 15 Essential Tips to Capture Stunning Travel Photos
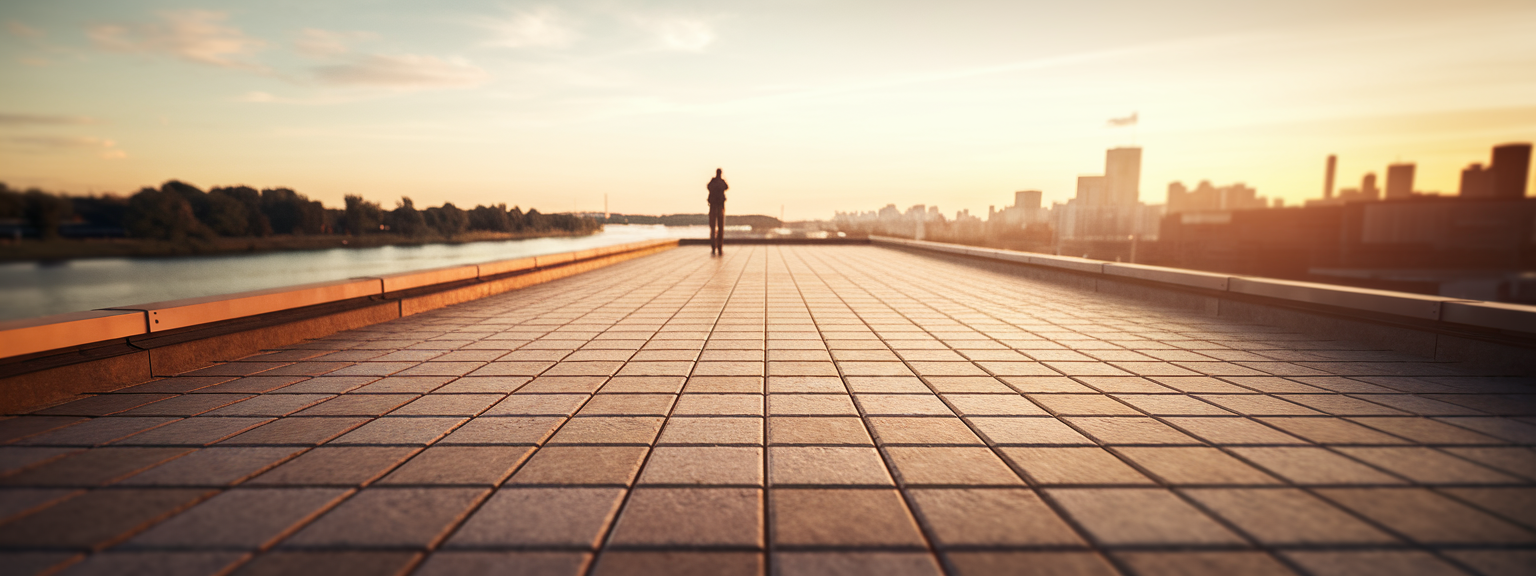
📝 Step-by-Step Guide: Travel Photography Essentials
Travel photography begins with intentional planning and ends with careful editing. In this introduction, travel photography is presented as a full workflow you can apply on every trip. For example, plan the shot list, pack the right travel photography gear, and set camera settings to match the scene. Therefore, progress happens faster when you follow a consistent method.
Plan with Purpose
Research locations, golden hour photography windows, and local rules before departure. Use PhotoPills or The Photographer’s Ephemeris to time sunrise and sunset precisely. Make a focused shot list: hero cityscape, environmental portrait, detail images, and night shots. This makes your travel photography ideas actionable and ensures coverage of key subjects.
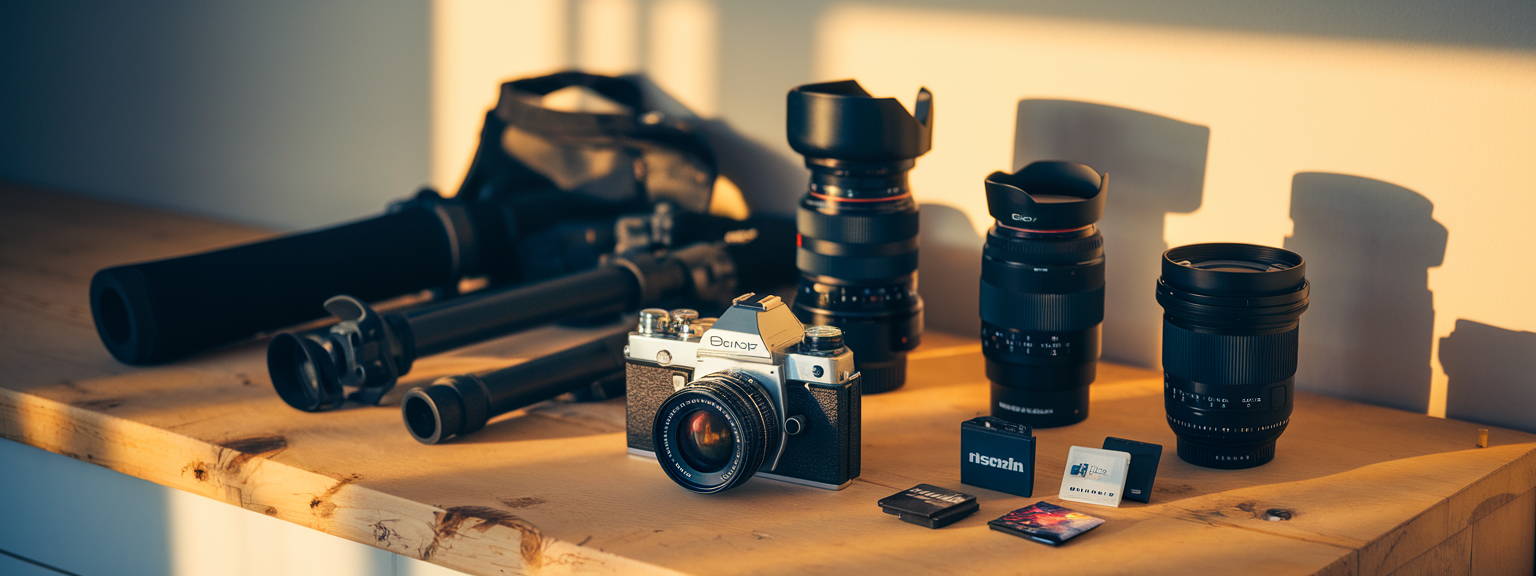
Pack a Minimal, Versatile Kit
- Primary lens: 24–70mm or 24–105mm for flexibility.
- Secondary prime: 35mm or 50mm for street and portraits.
- Lightweight tripod, polarizer, ND filter, spare batteries.
- Mobile backup: high-end smartphone and a small gimbal for mobile travel photography.
Set Camera Basics
Shoot RAW for the most latitude in travel photo editing. Keep ISO low in daylight (ISO 100–400). For landscapes use aperture f/8–f/11. For portraits select f/1.8–f/4 to isolate subjects. Use the rule-of-thumb shutter speed of 1/(focal length) for handheld shots and increase exposure time with a tripod for creative motion blur.
Compose with Intention
- Apply composition tips: rule of thirds, leading lines, negative space, framing, and symmetry.
- Vary perspectives: low angles for monumentality, high angles for context, close-ups for texture.
- Capture sequences: wide establishing shot, medium environmental portrait, and tight detail.
📌 Practical Applications: Travel Photography Use Cases
Applying travel photography tips to real situations ensures results. The following practical use cases show how to adapt camera settings, composition tips, and gear selection to common scenes you will encounter on the road.
Urban Street Photography
- Gear: 35mm or 50mm prime or smartphone. Carry light to blend in.
- Settings: Aperture priority, f/2–f/4 for background separation, shutter speed ≥1/250 for moving people.
- Technique: Anticipate moments, use reflections and frames, and respect subjects when photographing people.
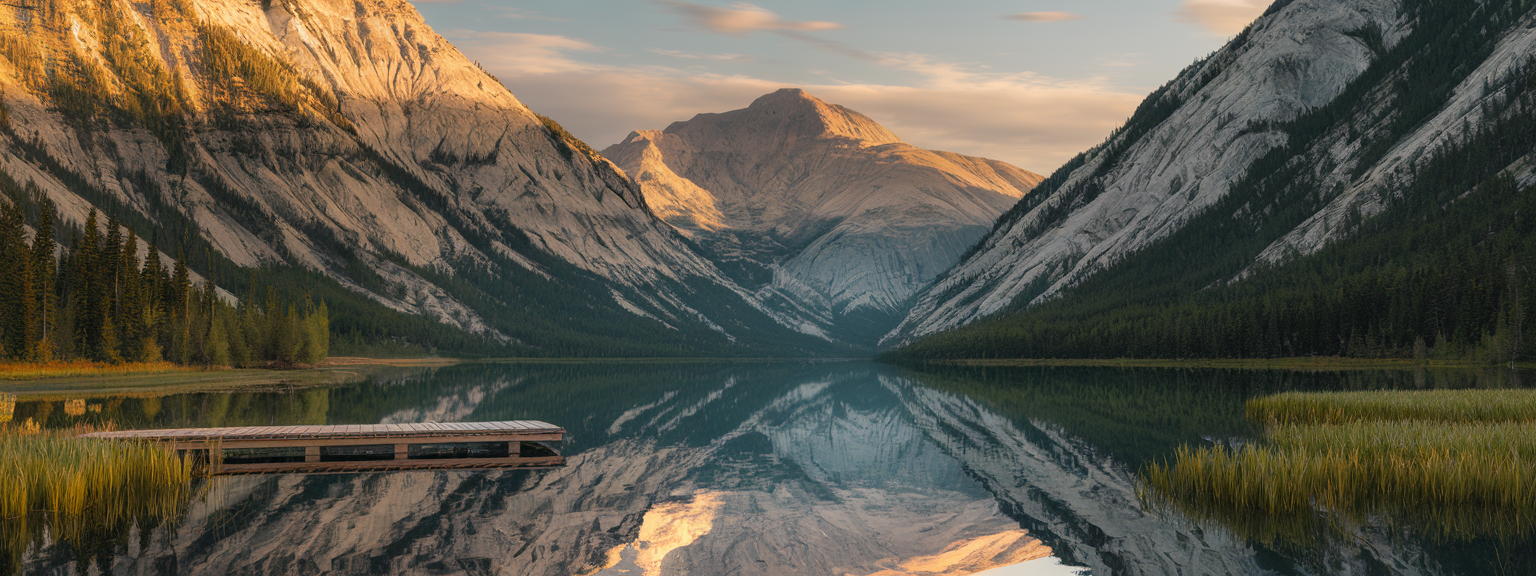
Landscape and Nature
- Gear: Wide zoom, tripod, polarizer, ND filter.
- Settings: ISO 100, aperture f/8–f/11, shutter speed as required for desired motion blur.
- Technique: Include foreground interest for depth and use bracketed exposures for high dynamic range scenes.
Portraits in Cultural Settings
- Gear: 50mm or 85mm prime, reflector or small flash for fill.
- Settings: Aperture f/1.8–f/4, shutter speed ≥1/125, ISO adjusted to light.
- Technique: Engage with subjects, ask permission, and include environmental elements to tell a cultural story.
Which specific travel photography ideas would you like to master next — urban night scenes, backlit portraits, or long-exposure landscapes?
Use the scenario-based advice above to plan a shoot that matches your style. For example, combine golden hour photography techniques with a 35mm prime for cinematic street portraits. In addition, test different exposures and prioritize safety and respect when photographing people.
💡 Tips & Tricks: Travel Photography Techniques
These advanced tips refine your craft and improve efficiency. They address recurring challenges and propose simple, practical tactics that elevate results immediately.
Master Light First
Light defines mood. Therefore, dedicate time to study how light falls on subjects at different times of day. Use side light for texture and backlight for rim-lit portraits. Golden hour photography often yields the most flattering tones.
Scout Like a Pro
Visit key locations at multiple times to test compositions and lighting. Ask locals or guides for hidden viewpoints. In addition, use Google Street View and local blogs to find less-crowded angles.
Use Filters and Motion Intentionally
- Polarizer: reduces glare and deepens skies.
- ND filters: allow long exposures in daylight for silky water or cloud motion.
- Motion: try panning at 1/30–1/60 for subject motion or 1–10s for water and light trails.
Try this today: plan one golden hour shoot and bracket exposures; review the RAW files to learn how light changes tonal range and color.
Practice Manual Focus and Focus Peaking
In low-contrast situations like night markets and astrophotography, manual focus with focus peaking yields sharper results. Use live view and magnification to confirm critical focus.
Cultivate a Lightweight Backup Setup
On long trips carry a portable SSD and multiple memory cards. Back up daily. The 3-2-1 rule is reliable: keep three copies, on two types of media, including one offsite copy.
📸 Sample Scenario
Below is an actionable full-day shoot example for a city with steep streets and historic facades. It includes camera settings, shot ideas, and editing priorities so you can reproduce the workflow on your next trip.
Pre-Dawn: Rooftop Sunrise
- Gear: 24–70mm, tripod, polarizer.
- Settings: ISO 100, f/8, bracket –1/0/+1 EV.
- Shots: wide establishing shot at 24mm, detail tile textures at 50mm.
Mid-Morning: Trams and Markets
- Gear: 35mm prime or phone with manual app.
- Settings: Aperture f/2.8–f/5.6, ISO 200, shutter speed ~1/500 for moving trams.
- Shots: candid portraits, leading lines created by tram tracks, reflections in shop windows.
Golden Hour and Blue Hour
- Gear: 85mm for tight portraits, 24–70mm for cityscapes, tripod for long exposures.
- Settings: Expose for highlights to hold sky color; use fill flash or reflector for faces.
- Shots: rim-lit portraits, long exposures of traffic, and illuminated facades in blue hour.
Editing Priorities
Import and backup immediately. Cull ruthlessly and keep the strongest narrative frames. Edit exposure, white balance, and clarity first. Then perform local adjustments to bring back sky detail or brighten faces. Finally, export web-optimized JPGs and archive RAW files.
✅ Key Do’s for Effective Usage
Adopt these best practices to maintain quality and consistency in your travel photography portfolio.
Essential Practices
- Do shoot RAW whenever possible for maximum travel photo editing flexibility.
- Do pack a lightweight, versatile kit tailored to the trip length and subject matter.
- Do respect local customs and always ask permission before photographing people when required.
- Do prioritize safety for yourself and your equipment; insure expensive gear if needed.
- Do curate stories: include establishing shots, action, and detailed context images.
❌ Common Mistakes to Avoid
Avoid these frequent errors to improve your travel photography outcomes immediately.
Top Pitfalls
- Avoid overpacking gear; it reduces mobility and increases risk of theft.
- Do not ignore light — midday sun can cause harsh shadows and blown highlights.
- Always back up files daily; one failed card can cost you an entire trip’s work.
- Do not overprocess images; subtle, consistent editing yields more professional results.
- Avoid photographing restricted sites without permission; research cultural norms ahead of time.
🔄 Troubleshooting & FAQs
This troubleshooting guide addresses common technical and practical questions encountered in travel photography. Each answer is concise and voice-search friendly.
Problem: Soft or Out-of-Focus Images
Check shutter speed versus focal length. Use single-point AF for static subjects and continuous AF for moving subjects. Clean your lens, and use a tripod or remote release for slow shutter speeds.
Problem: Blown-Out Highlights
Bracket exposures or expose for highlights and recover shadows in RAW. Use graduated ND filters to balance bright skies with darker foregrounds.
Problem: Noisy High-ISO Images
Lower ISO and increase exposure time when possible. Use modern sensors with better high-ISO performance. Apply selective noise reduction during travel photo editing to preserve detail.
FAQs (Voice-Search Friendly)
- Q: What camera settings should I use for travel photography? A: Start with RAW, ISO 100–400, apertures f/1.8–f/4 for portraits and f/8–f/11 for landscapes; adjust shutter speed for motion.
- Q: Which lenses are best for travel photography? A: A 24–70mm or 24–105mm covers most needs; add a 35mm or 50mm prime for street and portraits.
- Q: Should I carry a tripod when traveling? A: Yes, for long exposures, blue hour, and landscape work. Choose a lightweight travel tripod.
- Q: How do I improve golden hour photography? A: Arrive early, meter for highlights, and use backlight for rim-lit portraits. Underexpose slightly for richer colors.
- Q: What are the best AI tools for productivity in photography workflows? A: Tools like ChatGPT for captions, Notion for shot lists, and Lightroom with AI features for selective edits can speed workflow, but always review edits manually.
🖼️ Bringing It All Together
Create a repeatable system: Plan → Shoot → Cull → Edit → Share → Backup. This structured approach makes high-quality travel photography consistent, even on short trips.
Ready to build a repeatable travel photography workflow? Download a one-page checklist and start practicing the system on your next trip.
Set daily shooting goals, cull selectively, and develop signature presets that remain flexible. For SEO, add keyword-rich captions and alt text that describe location, subject, and technique. For example, use alt text such as “golden hour travel photography rooftop Lisbon — travel photography tips” to increase discoverability.
Consistent practice and careful attention to camera settings, composition tips, and light will yield measurable improvement in your travel photography. Keep notes on what worked and refine your process trip by trip. As a result, your portfolio will grow in both technical quality and storytelling power.

