Quick Tips for Better Photos: Simple Ways to Improve Your Shots
Capturing better photos is not dependent on owning expensive equipment—it is about applying proven photography tips, utilizing simple camera tricks, and mastering basic techniques. Whether you are a beginner or an experienced photographer, the ability to use lighting techniques, composition strategies, and photo improvement methods can transform your results across portrait, travel, or smartphone photography. This guide explores step-by-step strategies, practical applications, and essential tips designed to help you consistently take more compelling images.
📝 Step-by-Step Guide: Better Photos Made Simple
Step 1: Analyze Your Light
Lighting is the foundation of all successful photography. Examine the scene before you press the shutter. Natural light early in the morning or late in the afternoon provides balanced illumination, while artificial indoor lighting may require adjustments such as repositioning subjects or using reflective surfaces. A white wall, piece of paper, or even clothing can act as a reflector to soften shadows and create a professional finish.
Step 2: Strengthen Composition
Composition influences how viewers perceive your subject. Apply the rule of thirds by aligning your subject along intersecting grid lines for natural balance. Use leading lines such as roads or pathways to draw attention toward the focal point. Incorporating frames within the environment, such as windows or doorways, can add dimensionality and depth.
Step 3: Ensure Camera Stability
Camera shake compromises sharpness. To stabilize, use tripods or monopods, or simply lean against a wall. For handheld shots, keep elbows close to your body. On smartphones, burst mode can capture multiple frames, allowing you to select the sharpest result during review.
Step 4: Adjust Camera Settings
Understanding exposure elements enhances control:
- ISO: Set between 100–400 in bright light for crisp images. Increase only in low-light conditions when necessary.
- Shutter Speed: Use fast speeds (1/500s or more) for action. Employ slower speeds for static landscapes.
- Aperture: Lower f-stops (e.g., f/2.8) isolate subjects with blurred backgrounds, while higher f-stops (e.g., f/11) keep landscapes sharp.
Step 5: Post-Process Thoughtfully
Editing enhances images by emphasizing strengths. Adjust brightness, contrast, and shadow detail to refine exposure. Crop to improve framing and eliminate distractions. Intelligent editing is a critical stage in photo improvement, elevating images from good to exceptional.
📌 Practical Applications: Better Photos in Daily Life
Travel Photography
Golden hour produces scenic landscapes with warm tones. Use wide apertures for subject isolation, or focus on overlapping layers to emphasize scale and depth.
Smartphone Photography
Angles make a difference. Slight tilts or low perspectives create dynamic compositions. Always clean the lens to avoid distortion or hazy images.
Portrait Photography
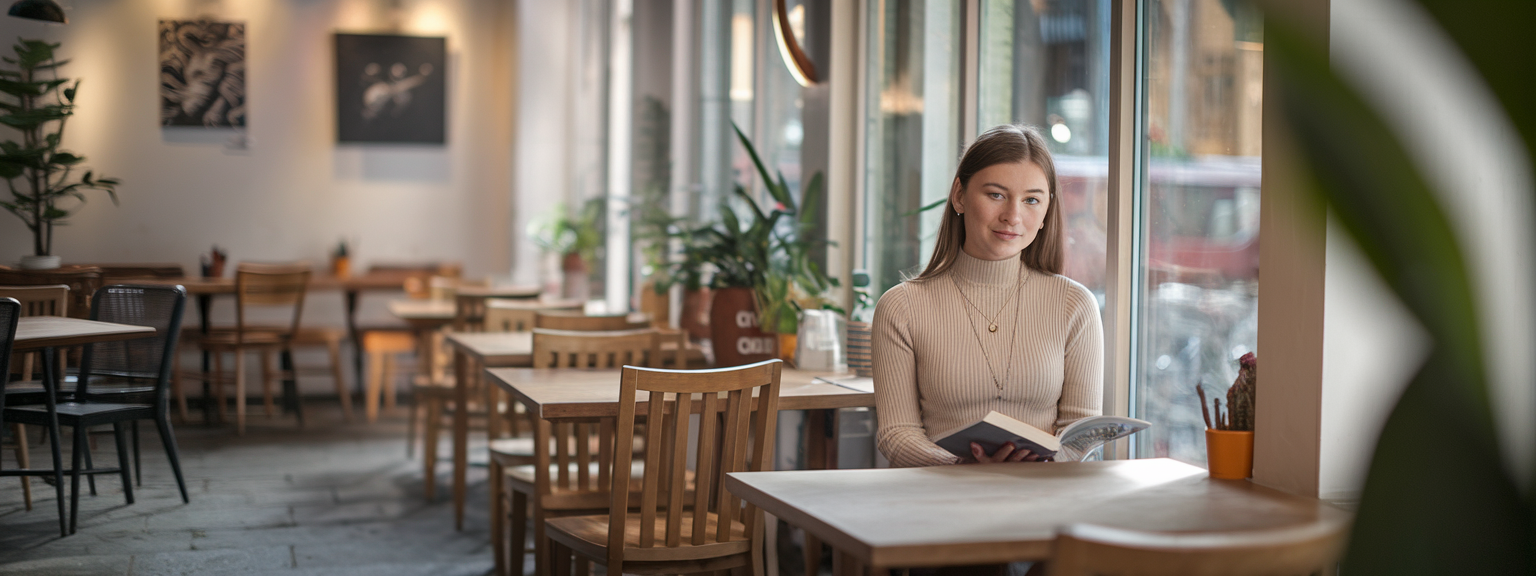
Place subjects near natural light sources, such as windows, for flattering effects. Use backgrounds intentionally and activate portrait modes to produce professional depth.
Food Photography
Adopt overhead flat-lay compositions. Soft natural side lighting highlights textures and makes dishes look both appealing and authentic.
Street Photography
Leading lines, shadows, and angles of architecture naturally guide attention. These factors add storytelling elements to candid moments.
💡 Tips & Tricks: Better Photos for Any Skill Level
- Embrace negative space to let your subject stand out against uncluttered areas.
- Experiment with shooting angles by crouching low or photographing from above.
- Be mindful of the background—avoid distractions that diminish subject importance.
- Use smartphone screen taps to refine focus and exposure instantly.
- Organize edits efficiently with batch presets in professional software or apps.
📸 Sample Scenario
Imagine photographing a friend at a café. The unconsidered snapshot results in harsh shadows from overhead lights and background distractions. Instead, move your subject near a window where light creates soft highlights. Incorporate environmental frames like a wooden windowpane and switch to portrait mode for depth. The final result is a warm, engaging image resembling a professional portrait.
✅ Key Do’s for Effective Usage
- Do observe lighting conditions before pressing the shutter.
- Do compose the frame with intention—consider every element.
- Do experiment with vertical and horizontal orientations.
- Do capture multiple frames for variation.
- Do back up images in cloud storage or external drives.
❌ Common Mistakes to Avoid
- Shooting under strong midday sun without shade.
- Placing subjects at the very center of every frame.
- Overlooking distracting foreground or background objects.
- Applying excessive editing filters, creating unnatural results.
🔄 Troubleshooting & FAQs
Why do my photos look grainy in low light?
Graininess, known as digital noise, is a consequence of high ISO. Instead, use a tripod and a longer shutter speed to expose the scene properly without raising ISO excessively.
How can I take better smartphone photos for free?
Work with natural light, apply basic composition rules like the rule of thirds, and use reliable free editing apps such as Snapseed to refine images.
What should I do if portraits look stiff?
Encourage subjects to interact naturally with their surroundings—holding an object, sipping from a cup, or moving mid-laughter. Spontaneous actions often create authentic results.
Do I need professional cameras for better photos?
Not necessarily. Modern smartphones, combined with thoughtful lighting, composition, and editing, deliver results that rival traditional cameras for many purposes.
🖼️ Bringing It All Together
Photography improvement comes through awareness of light, composition, stability, and post-processing. By practicing better photos strategies daily, you develop a trained eye for detail. Each session you shoot accelerates your growth.
With consistent practice and thoughtful application of these photography tips, your journey toward consistently capturing better photos becomes simpler and more fulfilling. From smartphone photographs to advanced DSLR compositions, these tools ensure your images are consistently improved with every frame.
Visit our Photography Content Hub
Smart Resize by SmartLink Basics iPhone or iPad app
“`

![[sports-photography-action-shot] [Photographer using a telephoto lens to capture a fast break at a basketball game — Sports Photography]](https://lenslesson.com/wp-content/uploads/2025/12/sports-photography-action-shot-telephoto-basketball.png)
![[Travel photography sunrise capture] [Photographer capturing sunrise landscape during a travel photography trip with a mirrorless camera]](https://lenslesson.com/wp-content/uploads/2025/12/travel-photography-sunrise-shot-essentials.png)
![[Photo Tips Sharper Shots] [Close-up of a photographer adjusting camera settings - Photo Tips for sharper shots]](https://lenslesson.com/wp-content/uploads/2025/12/photo-tips-better-photos-smartphone-composition.png)
![[Urban Street Photography Moment] [Photographer capturing a candid moment on a busy city sidewalk — street photography scene]](https://lenslesson.com/wp-content/uploads/2025/12/street-photography-candid-urban-moment.png)



![[Breathtaking Landscape Photography Sunrise] [Sunrise over a mountain valley with wildflowers in the foreground — landscape photography showing golden-hour light and wide-angle composition.]](https://lenslesson.com/wp-content/uploads/2025/12/landscape-photography-breathtaking-sunrise-scene.png)