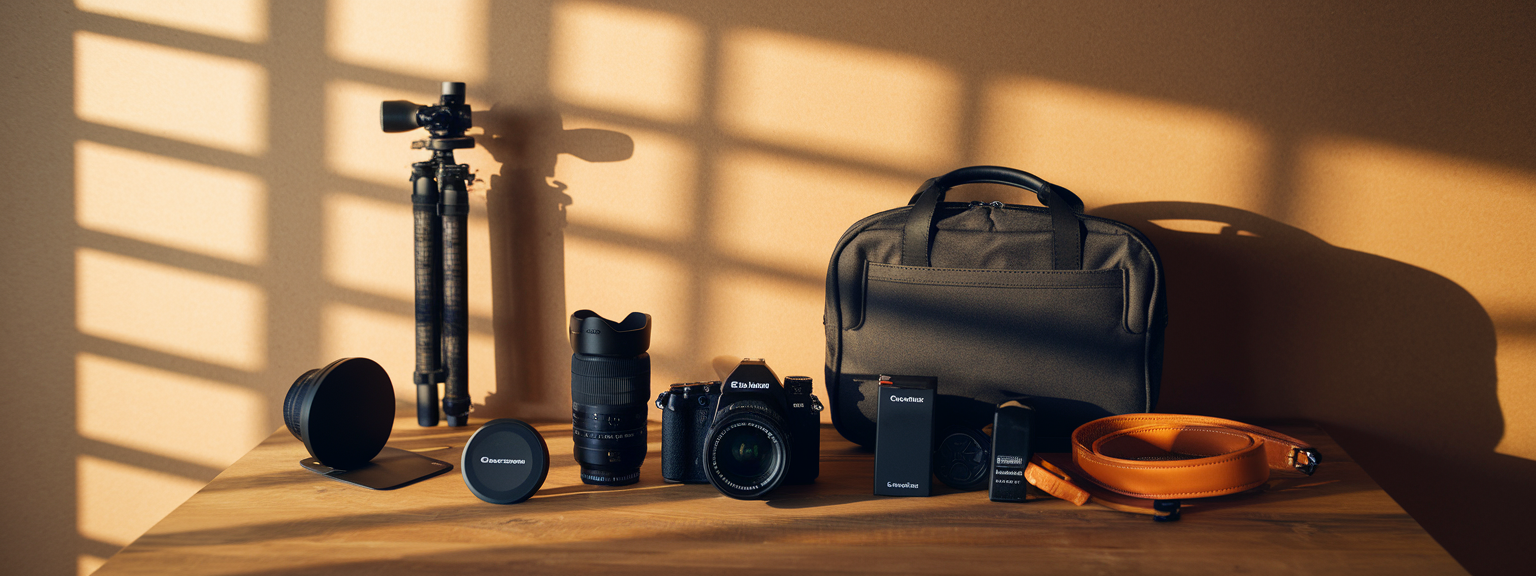
Quick Tips for Better Photos to Instantly Improve Your Shots

Photography is more than just pressing a button—it is the art of seeing. These Quick Tips for Better Photos are designed to help photographers at every level make instant improvements using clear methods and hands-on techniques. Whether you are shooting with a smartphone, mirrorless, or DSLR camera, you will learn photo improvement tips and photography hacks that will enhance your composition, lighting control, and storytelling ability. Understanding the fundamentals—light, composition, and editing—will let you elevate your visual results without the need for expensive equipment.
📝 Step-by-Step Guide: Quick Tips for Better Photos
Step 1: Understand and Use Light Effectively
Light defines photography. Improving your ability to interpret and utilize light is one of the fastest ways to improve your photos. Make a habit of studying how light interacts with your environment. Early and late hours of the day provide soft illumination, adding dimension and warmth.
- Natural Light: Capture portraits or landscapes during golden hours. The tone is softer, with long, warm shadows that add natural contrast.
- Artificial Light: Opt for diffused sources rather than intense overhead lights. Side lighting often produces greater depth.
- Light Control Tools: Simple objects—like white paper or reflective boards—function as inexpensive reflectors to soften shadows.
Observing and managing light helps you create texture, contrast, and atmosphere, which are key in producing professional-quality images.
Step 2: Master Camera and Smartphone Settings
Understanding your device’s basic settings offers unparalleled creative control. These beginner photography tips ensure consistent results and better technical precision.
- ISO: Lower ISO values (100–400) produce clean images in bright light. Higher ISO (800+) increases brightness but also adds noise.
- Aperture: Larger openings (f/2.8) create artistic blur, whereas smaller ones (f/8 and beyond) enhance overall sharpness.
- Shutter Speed: Fast speeds (1/1000) freeze motion; slower speeds accentuate movement for creative effects.
- Smartphone Pro Mode: Activate manual adjustments. Tap to lock focus and adjust exposure before shooting.
Step 3: Compose with Clear Intention
Composition defines how a viewer interacts with your image. Using structure and design creates balance and impact. Apply these photo composition strategies for consistent results:
- Rule of Thirds: Visually divide your frame into nine equal sections and position your subject along one-third lines.
- Leading Lines: Roads, fences, and shadows guide attention to focal points.
- Symmetry and Patterns: Structures and repetition add rhythm to the frame.
- Negative Space: Leave intentional emptiness to enhance subject prominence.
Step 4: Capture Emotion and Story
Photography connects people emotionally. A technically correct image may lack impact without emotion or narrative. Decide what you intend to express—joy, mystery, or calm—and adjust lighting and framing to support that emotion. Use candid moments, gestures, or expressions that evoke authenticity.
Step 5: Edit with Subtlety and Purpose
Editing refines your visual storytelling. Subtle adjustments ensure a polished finish while preserving realism.
- Adjust Exposure and Contrast: Balance highlights and shadows before applying filters.
- White Balance: Maintain color accuracy for both cooler and warmer lighting conditions.
- Crop with Intent: Cropping helps emphasize strong lines or subject details.
Use trusted tools like Lightroom or Snapseed to maintain image quality while applying these editing tips effectively.
📌 Practical Applications: Quick Tips for Better Photos
Everyday Photography
Small details make everyday scenes extraordinary. Utilize window light for simple setups: your morning coffee, houseplants, or close-up textures. Experiment with angles to highlight patterns and reflections in common surroundings.
Travel and Landscape Photography
When photographing your travels, timing and position are crucial. Arrive early to use calm light and avoid crowds. Look for dynamic lines such as stairways, rivers, or city paths to guide the viewer’s eye naturally through the scene.
Portrait Work
Use diffused lighting and a shallow depth of field for flattering portraits. Capture emotion over posed expressions—authenticity brings connection.
Smartphone Photography
Phones are powerful tools. Switch to manual or “Pro” mode, shoot in RAW, and practice stability. Before every photo, clean your lens—it significantly impacts clarity.
💡 Tips & Tricks: Quick Tips for Better Photos
- Use leading lines to naturally guide the eye toward the main subject.
- Keep your lens spotless to maximize clarity and detail.
- Shoot in RAW whenever available for maximum flexibility during edits.
- Use burst mode to capture multiple frames quickly in action scenes.
- Experiment with both low and elevated camera angles for variety.
- Control your background by choosing simple, non-distracting settings.
📸 Sample Scenario
Imagine yourself in a quiet café as sunlight filters through a window. You place your camera or smartphone next to a steaming cup of coffee on a rustic table.
- Composition: Position the cup slightly off-center using the rule of thirds.
- Lighting: Move your subject so that the natural side light highlights the texture and warmth.
- Camera Settings: Try ISO 100 and a moderate shutter speed around 1/125; adjust white balance to daylight.
- Editing: Slightly lift shadows, warm tones, and crop to emphasize patterns.
This simple approach transforms a common moment into a well-balanced, inviting visual story—a perfect result from applying Quick Tips for Better Photos.
✅ Key Do’s for Effective Usage
- Do experiment consistently; frequent practice develops visual expertise.
- Do study how light interacts across different surfaces and materials.
- Do back up photographs regularly to secure your creative work.
- Do learn basic post-processing to refine your final output.
- Do observe the work of professional photographers to inspire new techniques.
- Do keep your setup simple—improvement relies on skill, not equipment cost.
❌ Common Mistakes to Avoid
- Relying too heavily on automatic modes, resulting in flat or badly exposed images.
- Ignoring composition—strong subjects lose appeal if poorly framed.
- Over-editing images, which often leads to unrealistic results.
- Shooting under intense midday light without shade or reflectors.
- Neglecting backgrounds, reducing subject clarity.
- Leaving old settings active—always reset ISO and white balance before new sessions.
🔄 Troubleshooting & FAQs
Why do my photos appear blurry?
Common causes include camera shake, slow shutter speeds, or missed focus. Use a shutter speed above 1/250s for handheld shots and enable stabilization features available on most smartphones and cameras.
How can I make smartphone photos less dull?
Use HDR for dynamic scenes, adjust contrast gently, and shoot during favorable natural light. Proper framing and thoughtful lighting instantly optimize your image quality.
What settings should I use for indoor shooting?
Begin at ISO 800–1600 and a wider aperture (f/2.8–f/4). Maintain a shutter at least 1/60s or use tripod stabilization. Favor window light when possible.
Why are my faces showing harsh shadows?
Diffuse the light with translucent fabric or change positioning. Overhead lighting often exaggerates contrast; instead, use side or front-facing light sources.
Should I use RAW or JPEG format?
RAW files preserve full detail and flexibility for editing, while JPEGs are ready-to-use but compressed. If memory space allows, always choose RAW for best post-processing results.
How can I improve my photo composition skills?
Start with one concept—rule of thirds or leading lines—and apply it repeatedly. Gradual practice embeds visual balance naturally.
🖼️ Bringing It All Together
Photography merges creativity and precision. By integrating these Quick Tips for Better Photos, you develop technical mastery while discovering your unique point of view. Consistency is the key; every shoot offers lessons that refine your capability and perception.
Over time, practice turns awareness into intuition. Observe each frame critically, continue learning, and your photography will evolve naturally. Remember, impact comes not from perfection but from the emotion your image conveys.

![[sports-photography-action-shot] [Photographer using a telephoto lens to capture a fast break at a basketball game — Sports Photography]](https://lenslesson.com/wp-content/uploads/2025/12/sports-photography-action-shot-telephoto-basketball.png)
![[Travel photography sunrise capture] [Photographer capturing sunrise landscape during a travel photography trip with a mirrorless camera]](https://lenslesson.com/wp-content/uploads/2025/12/travel-photography-sunrise-shot-essentials.png)
![[Photo Tips Sharper Shots] [Close-up of a photographer adjusting camera settings - Photo Tips for sharper shots]](https://lenslesson.com/wp-content/uploads/2025/12/photo-tips-better-photos-smartphone-composition.png)
![[Urban Street Photography Moment] [Photographer capturing a candid moment on a busy city sidewalk — street photography scene]](https://lenslesson.com/wp-content/uploads/2025/12/street-photography-candid-urban-moment.png)


![[Breathtaking Landscape Photography Sunrise] [Sunrise over a mountain valley with wildflowers in the foreground — landscape photography showing golden-hour light and wide-angle composition.]](https://lenslesson.com/wp-content/uploads/2025/12/landscape-photography-breathtaking-sunrise-scene.png)