Portrait Photography: Perfecting Your Portrait Shots — Lighting, Posing & Editing

📝 Step-by-Step Guide: Portrait Photography
Introduction & Purpose
Portrait photography is an art and a craft — whether you are creating a corporate headshot, a natural light portrait, or a studio glamour session. In this section I provide a full, practical workflow that covers pre-shoot planning, camera setup, portrait lighting options, posing for portraits, and retouching portraits. This guide is designed to be actionable, reliable, and repeatable for photographers at all levels.
1. Pre-shoot preparation
Preparation reduces surprises. For successful portrait photography sessions, confirm the brief, build a shot list, scout the location, and advise on wardrobe and grooming. In addition, prepare equipment and backup plans. Below are the items to confirm and pack.
- Client brief: purpose (headshot, branding, editorial), style references, deliverables, and usage rights.
- Shot list and references: collect example images to match lighting and posing expectations.
- Location scouting: assess open shade, window light, backdrops, and potential distractions.
- Wardrobe and grooming guide: recommend solid colors, avoid small patterns, and bring layers.
- Equipment checklist: camera, lenses (85mm, 50mm, 35mm), softbox, speedlight, reflector, tripod, tether cable, spare batteries and cards.
2. Camera settings & practical starting points
Set the foundation with RAW capture, reliable focusing on the eyes, and exposure that preserves skin highlights. For most portrait photography sessions, use Manual or Aperture Priority and tune settings to lighting and movement.
- Aperture: f/1.8–f/4 for headshots; stop down to f/4–f/8 for full-length images or groups.
- Shutter speed: at least 1/125s for handheld; use 1/200–1/250s with flash sync.
- ISO: 100–400 for clean skin tones; increase only when necessary.
- Focus: single-point AF on the nearest eye or Eye AF on mirrorless systems.
- White balance: daylight for natural light portraits; custom Kelvin for mixed lighting.
3. Natural light portrait setups
Natural light portraits are accessible and flattering. However, you must control direction, diffusion, and fill to maintain consistent skin tones and catchlights.
Open shade
Place your subject in open shade for even illumination. Use a reflector for subtle fill and to add catchlight. This approach yields soft skin tones and easy control.
Golden hour
Backlight the subject during golden hour to produce warm rim light and glowing skin. Therefore, use a reflector or low-power fill flash to retain eye detail while keeping the mood.
Window light
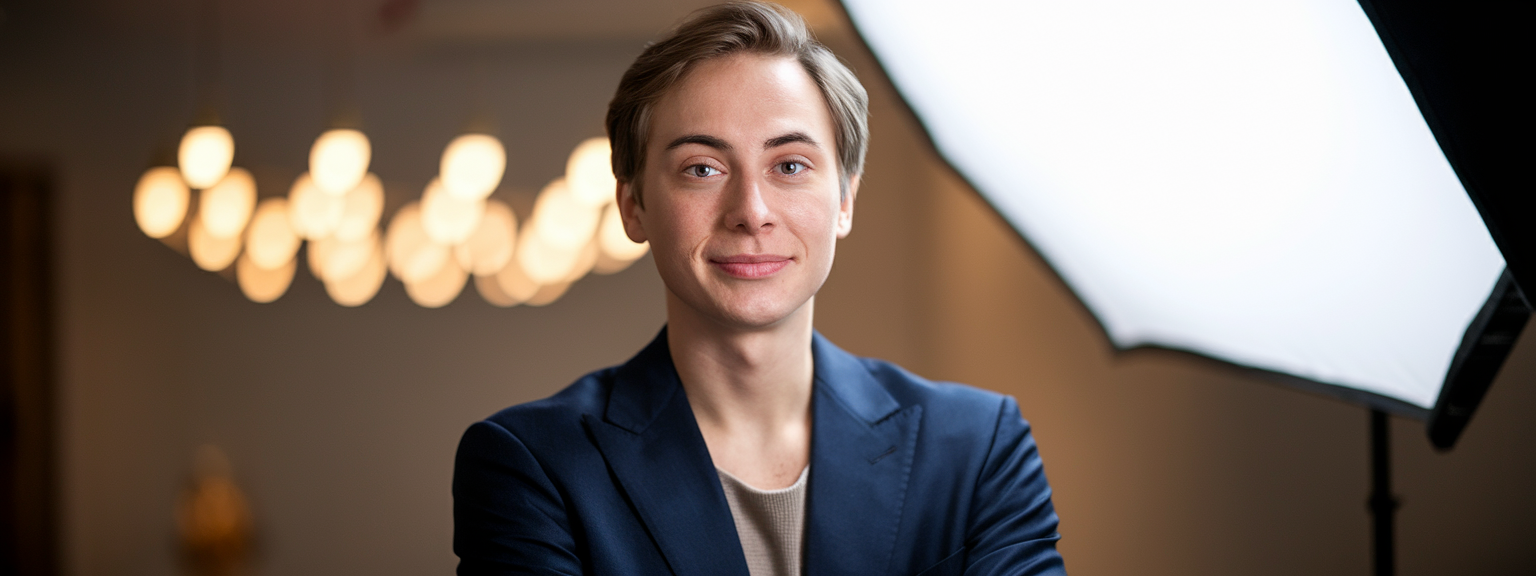
For indoor portraits, use large windows as a softbox alternative. Position subjects at roughly 45° to the window and place a foam core opposite to reflect fill. This method mimics studio softbox lighting without studio gear.
4. Studio lighting setups (portrait lighting)
Studio portrait lighting offers repeatability and control. Below are common modifier placements and intended results.
- Softbox key (24×36″): 45° key, slightly above eye level for soft, flattering light.
- Rembrandt: key at 45–60° with minimal fill to create a triangle of light under the eye.
- Butterfly/Paramount: centered key above camera; use under-chin reflector for beauty retouching.
- Hair/rim light: small modifier behind subject for separation on dark backdrops.
- Modifiers: grids and beauty dishes control spill and contrast for creative looks.
5. Posing for portraits: fundamentals
Posing is both technical and conversational. Direct your subject with precise cues, model poses when needed, and combine subtle adjustments to produce flattering lines.
- Headshots: shoulders turned, chin slightly forward and down, engage the eyes with a squinch for depth.
- Three-quarter poses: weight on back foot to create an S-curve and a slimming silhouette.
- Hands: avoid pressed-flat hands; relax fingers and introduce props or hair adjustments.
- Male vs female cues: adjust camera height and shoulder orientation to emphasize confidence or curves appropriately.
6. Shooting workflow and communication
Consistent communication produces better expressions and faster sessions. Begin with rapport, demonstrate poses, and tether for client review. As a result, you will capture the necessary variations efficiently.
7. Post-production & retouching portraits
Retouching portraits should enhance without erasing identity. Use RAW processing for exposure and color, then apply targeted edits for skin texture, color grading, and sharpening.
- RAW processing: adjust exposure, contrast, and HSL to refine skin tones and overall mood.
- Frequency separation: use sparingly to preserve texture while evening tone.
- Dodge & burn: sculpt cheekbones, jawlines, and features to add dimension.
- Final exports: deliver web-ready JPEGs (sRGB) and high-resolution files per client needs.
📌 Practical Applications: Portrait Photography
Headshots & corporate portraits
For LinkedIn and corporate biographies, aim for clean composition, approachable expressions, and neutral backgrounds. Use softbox lighting or window light for even skin tones. Include both tight headshots and medium crops for flexibility in layout.
Personal branding & lifestyle portraits
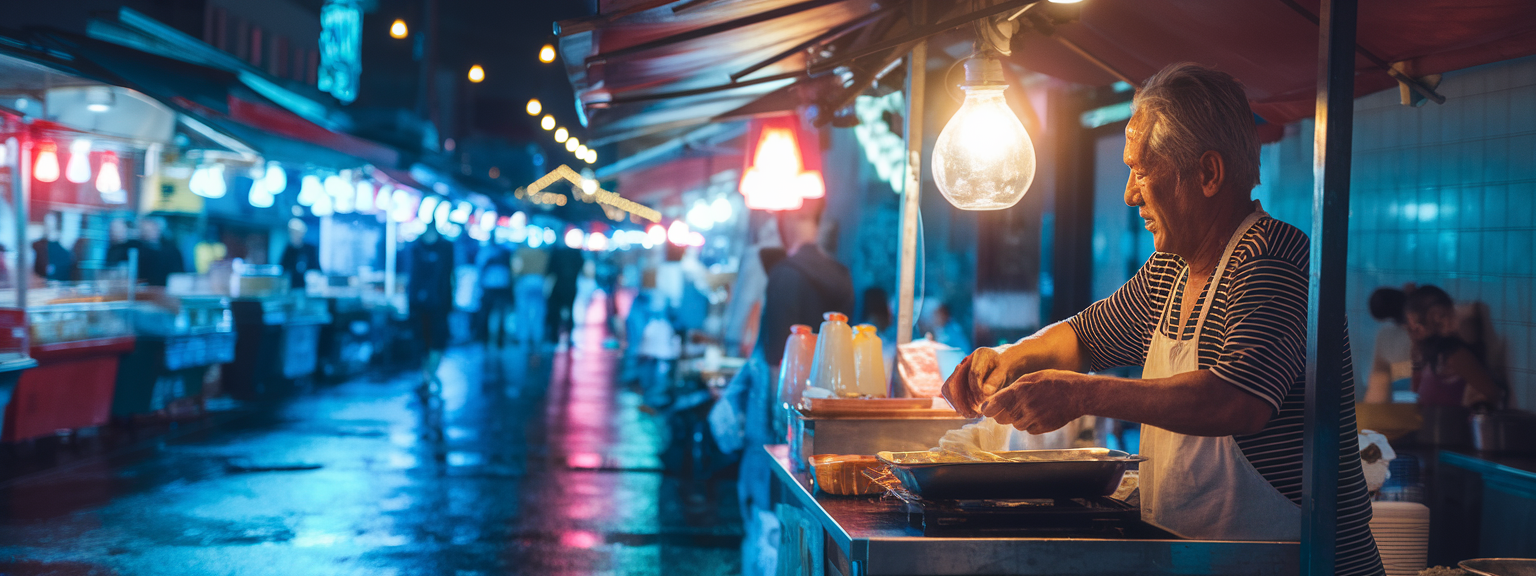
Branding sessions require storytelling through environment and wardrobe. Therefore, combine natural light portraits with environmental details and strong posing that expresses personality. Use 35mm–50mm lenses for contextual shots and 85mm for tight portraits.
Editorial, fashion, and creative work
Editorial portrait photography benefits from dramatic light and controlled mood. Use beauty dishes, grids, and colored gels to craft striking images. In addition, push poses and compositions beyond classic headshot norms to create visual interest.
Family and group portraits
For families, prioritize even, soft lighting and layered posing. Create triangular compositions and use depth of field to separate subjects from backgrounds when needed.
Which portrait photography application do you want to master next — corporate headshots, natural light portraits, or creative studio portraits?
Practical application decisions affect gear, timing, and retouching choices. For example, social media portraits require vertical crops and punchier color; editorial portraits require precise lighting control and refined retouching. Therefore, plan deliverables to match the client’s use and platform expectations.
💡 Tips & Tricks: Portrait Photography
Portrait lighting tips
- Use catchlights to bring life to eyes; adjust modifier position if catchlights are missing.
- Control contrast with a reflector or low-power fill; do not flatten the face completely.
- Modify light size and distance to change softness; closer equals softer wrap around the face.
- Use grids or snoots for selective light and cinematic rim effects.
Posing tips
- The double chin fix: request the subject to push the face slightly forward and down to define the jawline.
- Squinch to reduce wide-eyed stiffness and increase perceived intensity.
- Use momentum: have the subject move slowly into the pose to create natural expressions during continuous shooting.
Take one lighting or posing tip into your next shoot and test it across five frames — small experiments produce steady improvement.
Editing & retouching tips
- Preserve skin texture and avoid global smoothing; natural pores maintain credibility.
- Use selective sharpening on eyes, lashes, and hair while leaving skin softer.
- Work non-destructively with layers, masks, and smart objects in Photoshop.
- Use HSL and color calibration to unify skin tones across a session.
📸 Sample Scenario
LinkedIn Headshot — 30 Minute Session
Client: marketing professional requiring a clean LinkedIn headshot and medium crop for website use. Style: neutral background, warm but natural tones. In preparation, send a pre-shoot checklist and wardrobe guide. Arrive early to set a 24×36″ softbox at 45° with a reflector opposite for fill. Tether to a laptop for client review.
Shoot flow
- Warm-up: start with casual conversation and movement shots to loosen expression.
- Core headshot: subject at 30° angle, chin slightly forward; capture several variations.
- Wider medium crop: adjust shoulders and posture for more confident frames.
- Expression set: serious, soft smile, laugh; capture natural moments in-between posed frames.
- Client review: choose selects and make minor adjustments before final frames.
Post-shoot deliverables
Provide 3 retouched finalists with warm/cool variations. Deliver a web-optimized JPEG (1200px wide, sRGB) and a high-resolution TIFF for print. Offer basic retouching and an optional premium retouch that includes advanced skin work and additional color grading.
✅ Key Do’s for Effective Usage
Essential best practices
- Do build rapport first; relaxed subjects create better portraits.
- Do prioritize eye focus; the eyes must be sharp and engaging.
- Do use RAW and maintain a non-destructive editing workflow.
- Do control background separation with hair lights or subject-to-background distance.
- Do provide multiple expressions and crops to clients for flexibility.
❌ Common Mistakes to Avoid
Planning and technical errors
- Poor planning: failing to confirm wardrobe or brief leads to mismatched outcomes.
- Bad focus: wide apertures without reliable AF can yield soft eyes; use Eye AF or stop down.
- Harsh light: direct sunlight creates unflattering shadows; use open shade or diffusion.
- Over-retouching: excessive smoothing removes natural texture and damages credibility.
- Background distractions: avoid busy backdrops by changing angle, distance, or aperture.
🔄 Troubleshooting & FAQs
Problems and quick solutions
Below are common portrait photography questions and concise, voice-search-friendly answers. These address both technical and workflow issues you will encounter regularly.
My images look flat — how can I add dimension?
Add a key light at 45° and a subtle fill. Use a rim or hair light to separate the subject from the background. In post, apply subtle dodge & burn to sculpt facial planes.
The eyes are out of focus at wide apertures — what should I do?
Use single-point AF on the closest eye or Eye AF. Alternatively, step back slightly or stop down to f/2.2–f/2.8 to increase depth of field without losing pleasing bokeh.
How do I fix inconsistent skin tones across frames?
Use a color checker for session consistency. In post, use HSL adjustments and targeted white balance corrections to unify skin tone hues and saturation.
How do I shoot professional-looking natural light portraits indoors?
Position the subject at 45° to a large window with a sheer curtain for diffusion. Add a reflector opposite the window for fill and use a reflector for catchlights when needed.
What camera lens is best for portrait photography?
Classic portrait lenses are 85mm and 50mm on full-frame sensors. For headshots, 85mm–135mm provides flattering compression. For environmental portraits, 35mm or 50mm gives context while maintaining subject prominence.
What are the best AI tools for productivity?
Popular AI tools include Adobe Sensei (Lightroom/Photoshop), Luminar Neo for portrait retouching, and Topaz Labs for noise reduction and sharpening. For content and workflow automation, use ChatGPT or Notion AI. However, always review AI results to ensure consistent aesthetic and ethical edits.
🖼️ Bringing It All Together
Repeatable session workflow
A repeatable workflow will save time and improve consistency. Follow these steps: pre-session planning, setup and lighting, warm-up, core shooting variations, client review, careful retouching, and timely delivery. Use tethering when possible to verify focus and expression in real time.
Deliverables and growth strategy
Offer tiered packages and clear licensing. Build portfolio pages by niche and include BTS and before/after retouch examples to build client trust. Optimize website content for long-tail keywords like “natural light portraits tips” and “headshot tips” to attract targeted clients.
Ready to book a portrait photography consultation or request a custom lighting diagram and retouch preset?
Continued practice with deliberate testing of portrait lighting, posing for portraits, and editing strategies will sharpen both your technical skill and artistic voice. For consistent results, standardize file naming, pack checklists, and keep curated presets for common scenarios such as softbox lighting headshots, natural light portraits, and shallow depth of field profiles.

![[Stunning Images Lighting And Editing] [Studio portrait with dramatic lighting and color grading to demonstrate stunning images]](https://lenslesson.com/wp-content/uploads/2025/11/advanced-stunning-images-lighting-composition-editing.png)
![[Travel Photography Tips Sunset Shot] [Photographer framing a mountain sunrise to demonstrate travel photography tips]](https://lenslesson.com/wp-content/uploads/2025/11/travel-photography-tips-sunset-shot.png)


![[Essential Photography Gear Flat Lay] [Flat lay of essential photography gear: camera, lenses, tripod, and camera bag]](https://lenslesson.com/wp-content/uploads/2025/11/photography-gear-essentials-flatlay.png)
