
Mastering the Art of Capturing Breathtaking Landscapes
Capturing breathtaking landscapes is one of the most rewarding pursuits in photography. More than just documenting natural scenery, true landscape photography highlights emotion, depth, and storytelling. With the right photography techniques, camera settings, and composition strategies, you can elevate your outdoor photography well beyond snapshots. This guide explores every essential step, from preparation and equipment to composition, light mastery, and editing, giving you practical landscape photography tips to transform your images into timeless works of art.
📝 Step-by-Step Guide: Capturing Breathtaking Landscapes
Step 1: Research & Planning
Successful outdoor photography begins long before you press the shutter. Scouting and anticipating conditions ensures you are fully prepared to capture a location’s personality.
- Use Google Earth, Instagram geotags, or dedicated photography apps like PhotoPills to identify promising compositions.
- Monitor forecasts—clouds, fog, and storms often create dramatic skies.
- Understand the mood you seek to convey: tranquility, drama, or grandeur.
Step 2: Bring the Right Gear
- Camera: DSLRs and mirrorless are excellent, but smartphones can capture compelling results with proper technique.
- Lenses: Wide-angle (14–35mm) for expansive views, telephoto for isolating distant peaks.
- Tripod: Vital for stability during long exposures, low light, or HDR blending.
- Filters: Polarizers cut glare and enrich skies; ND filters allow silky water and motion effects.
Step 3: Composition Techniques
- Rule of Thirds: Position key elements along thirds for balance.
- Leading Lines: Utilize rivers, ridges, or roads to direct the viewer’s eye.
- Foreground Interest: Incorporate rocks, flowers, or natural textures to add depth.
- Framing: Use trees, arches, or natural features to enhance focus.
Step 4: Master Camera Settings
Technical control is critical when capturing breathtaking landscapes. Thoughtful camera adjustments ensure sharpness, clarity, and tonal balance across your image.
- Aperture: f/8 to f/16 maximizes depth of field.
- Shutter speed: Use fast speeds for crisp details or slow speeds for motion blur effects.
- ISO: Keep between 100–400 to minimize digital noise.
- Focus: Use hyperfocal focusing for sharpness front-to-back.
Step 5: Timing & Light
- Golden Hour: Sunrise and sunset deliver soft light, warm tones, and elongated shadows.
- Blue Hour: Pre-dawn or twilight creates moody, atmospheric effects.
- Midday: Ideal for strong contrasts or high-key desert scenes.
Step 6: Post-Processing
Editing should enhance, not overpower, your vision. Subtle adjustments in Lightroom or Camera Raw refine exposure, balance tones, and sharpen details.
📌 Practical Applications: Capturing Breathtaking Landscapes
- Travel Photography: Move beyond tourist snapshots to tell meaningful visual stories.
- Outdoor Adventures: Memorialize hikes, camping, or expeditions with professional captures.
- Social Media & Branding: Landscapes enhance digital presence by evoking aspiration and wanderlust.
- Fine Art & Prints: Transform scenes into gallery-worthy photographs.
- Conservation Awareness: Use compelling visuals to support environmental advocacy.
💡 Tips & Tricks: Capturing Breathtaking Landscapes
- Incorporate layers to enhance three-dimensional perspective.
- Exercise patience for perfect conditions—light can transform a scene within minutes.
- Use exposure bracketing for difficult lighting and merge images for balanced results.
- Experiment with angles—lying low or climbing higher drastically changes compositions.
📸 Sample Scenario
Imagine setting up at a mountain overlook before dawn. You position your tripod, compose using foreground flowers, and align the horizon across the top third. At sunrise, you capture multiple exposures at ISO 100, f/11, and a 2-second shutter. A polarizer enriches the colors. The result is a sharp, glowing image that conveys both serenity and grandeur.
✅ Key Do’s for Effective Usage
- Do shoot in RAW for post-processing flexibility.
- Do carry spare batteries and memory cards to avoid interruptions.
- Do use manual mode for complete exposure control.
- Do evaluate scenes from different directions—sometimes the best light is behind you.
❌ Common Mistakes to Avoid
- ❌ Over-editing with oversaturated skies and unnatural tones.
- ❌ Overcomplicating compositions with distracting elements.
- ❌ Ignoring weather dynamics that add emotion to landscapes.
- ❌ Neglecting camera stabilization for long exposures.
🔄 Troubleshooting & FAQs
How do I achieve sharpness throughout the frame?
Use a small aperture (f/11–f/16) and focus approximately one-third into your frame—this aligns with the hyperfocal distance principle.
What is the best time of day for capturing breathtaking landscapes?
Golden and blue hours provide the most flattering natural light. However, dramatic conditions like storms or fog can produce equally compelling results in midday light.
Can smartphones capture quality landscapes?
Yes. By combining HDR mode, strong composition, and tripod stabilization, modern smartphones can deliver remarkably detailed images.
How can I prevent washed-out skies?
Employ a polarizing filter or use exposure bracketing techniques. In post-processing, blend exposures for balanced highlights and shadows.
What distinguishes ordinary landscapes from extraordinary ones?
Uniqueness comes from storytelling. Seek overlooked perspectives, intimate details, or symbolic elements that resonate emotionally with the viewer.
🖼️ Bringing It All Together
Mastering the art of capturing breathtaking landscapes requires planning, technical expertise, and artistic vision. With a thoughtful approach to light, photo composition, and equipment, you can create images that are both visually striking and emotionally engaging.
Ultimately, capturing landscapes is not only about marking a location but about interpreting nature through your perspective. By blending technique with patience and creativity, every scene becomes an opportunity to craft stories that leave lasting impressions.
Visit our Photography Content Hub
Smart Resize by SmartLink Basics iPhone or iPad app
“`
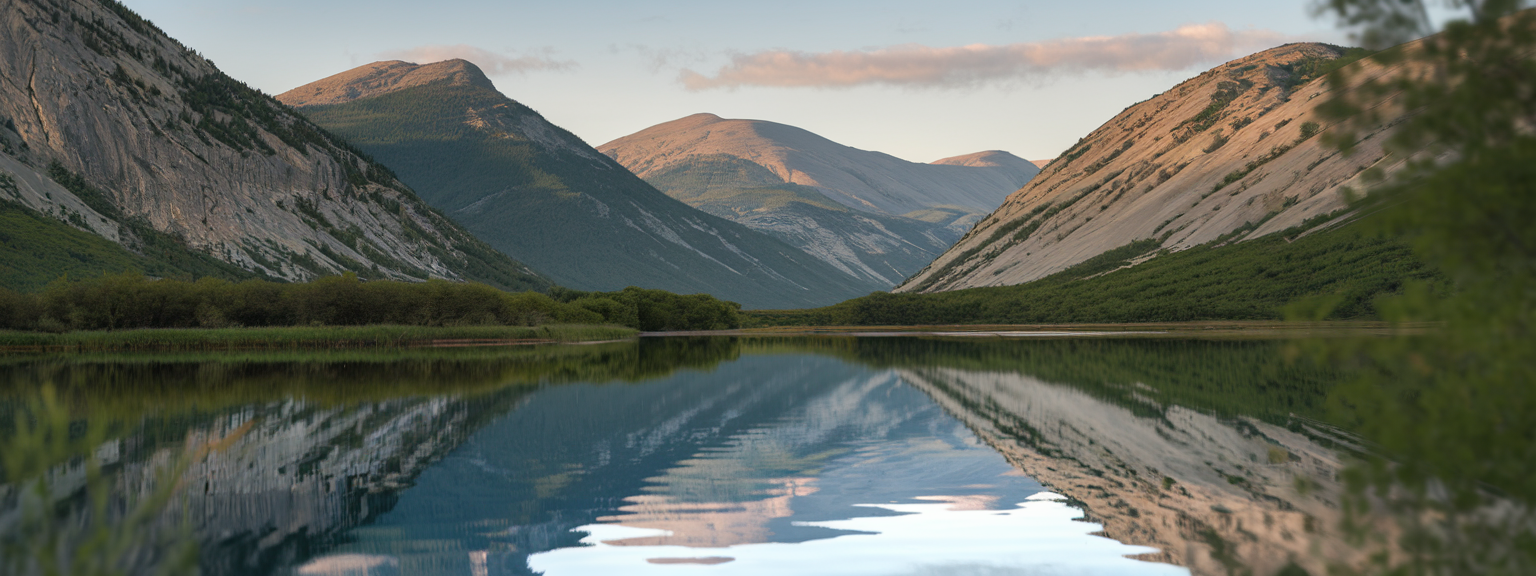
![[Sunrise over a mountain valley with wildflowers in the foreground — landscape photography showing golden-hour light and wide-angle composition.]](https://lenslesson.com/wp-content/uploads/2025/12/landscape-photography-breathtaking-sunrise-scene.png "[Breathtaking Landscape Photography Sunrise]")
![[Person at desk using laptop and notebook to level up your skills]](https://lenslesson.com/wp-content/uploads/2025/12/level-up-your-skills-planning-workspace.png "[Level Up Your Skills Workspace]")
![[Person journaling at a sunlit desk capturing daily creative inspiration with a notebook and coffee.]](https://lenslesson.com/wp-content/uploads/2025/12/daily-creative-inspiration-journaling-ideas.png "[Daily Creative Inspiration Journaling]")
![[Photographer editing images on a monitor demonstrating post processing essentials workflow]](https://lenslesson.com/wp-content/uploads/2025/12/post-processing-essentials-overview.png "[Post Processing Essentials Demo]")
![[Photographer adjusting studio lights for Stunning Images during a portrait session.]](https://lenslesson.com/wp-content/uploads/2025/12/advanced-stunning-images-lighting-composition-editing.png "[Stunning Images Lighting Composition]")
