Mastering the Art of Capturing Breathtaking Landscapes

Landscape photography is one of the most powerful ways to translate the beauty of the world into lasting art.
When it comes to capturing breathtaking landscapes, success depends not only on having the right camera but also on understanding light, composition, and timing.
By applying proven landscape photography tips, mastering nature photography techniques, and refining your eye for scenic photography, you can elevate ordinary outdoor scenes into extraordinary visual stories.
This guide provides a detailed framework to help both beginners and advanced photographers take their craft to the next level.
📝 Step-by-Step Guide: Capturing Breathtaking Landscapes
Step 1: Understanding the Landscape
Great storytelling in scenic photography begins with deep observation.
Before raising your camera, take a moment to read the environment. Notice how the light falls, how elements interact, and the emotions the scenery provokes.
This deliberate approach builds a foundation for photographs that resonate.
Step 2: Choosing the Right Equipment
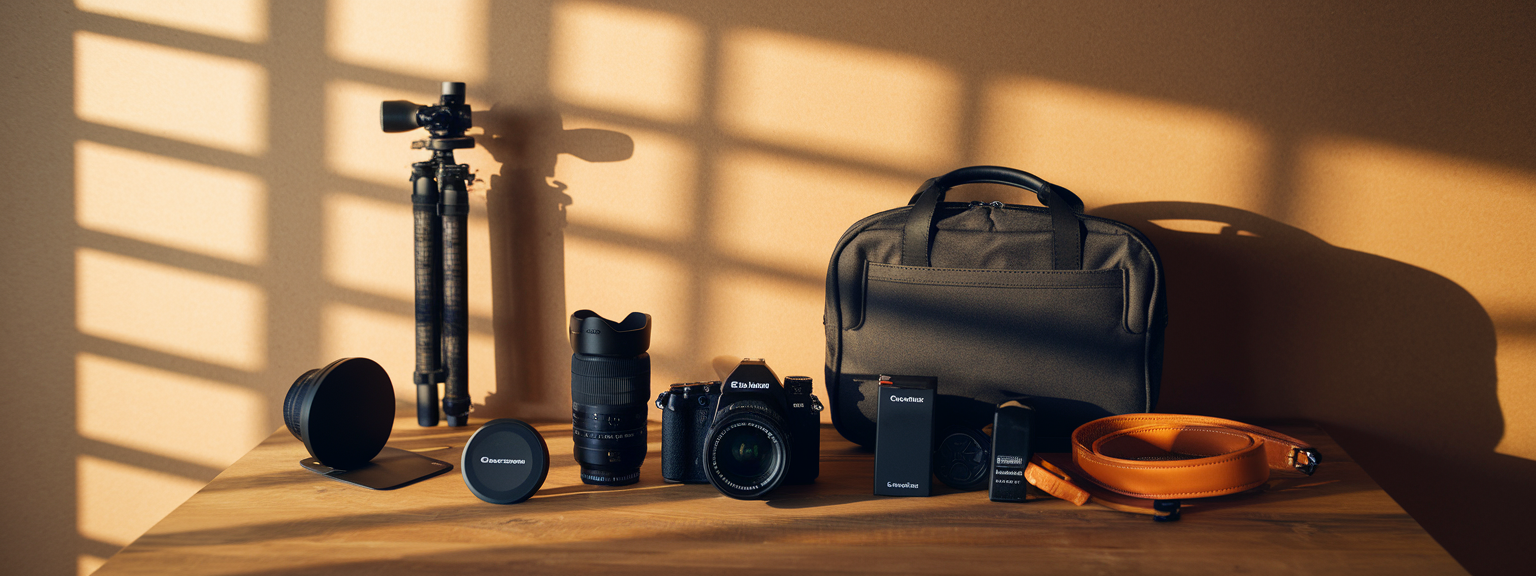
- Camera: A full-frame DSLR or mirrorless offers flexibility, but a crop-sensor body can still perform exceptionally.
- Lenses: Wide-angle glass (16–35mm) captures grandeur, while 70–200mm lenses compress landscapes for artistic perspectives.
- Tripod: Stable support ensures sharpness, particularly for sunrise, sunset, or long exposures.
- Filters: Polarizing filters deepen skies and cut reflections; neutral density filters allow balanced exposures in bright conditions.
Step 3: Camera Settings for Outdoor Photography
- Aperture: Select f/8 to f/16 for wide depth of field.
- Shutter Speed: Adjust to subject—fast for movement, or slow for artistic long exposures.
- ISO: Keep ISO at 100–200 for minimal digital noise.
- Focus: Use single-point autofocus or manual adjustments for precision focusing.
Step 4: Composition Essentials
- Rule of Thirds: Place horizons and focal elements along thirds for balanced frames.
- Leading Lines: Utilize rivers, trails, or sunbeams to guide viewers through the image.
- Foreground Interest: Introduce rocks, flowers, or figures to add scale and depth.
- Framing: Use natural frames like overhanging branches or canyon walls.
Step 5: Harnessing Golden Hour Photography
The golden hour provides the soft, directional light that enhances textures and depth.
Photographers chasing capturing breathtaking landscapes often plan sessions around this time for optimal color and atmosphere.
Equally, blue hour—just before sunrise or after sunset—delivers subtle gradients ideal for dramatic skies and tranquil water scenes.
📌 Practical Applications: Capturing Breathtaking Landscapes
Expanding Your Photography Beyond Art
- Travel Photography: Strengthen destination storytelling and inspire exploration.
- Environmental Advocacy: Use evocative imagery to raise awareness of conservation issues.
- Fine Art: Offer prints or exhibit in galleries as part of a professional portfolio.
- Commercial Usage: Supply stock libraries and brand campaigns with high-quality scenic visuals.
- Social Media Impact: Elevate presence on visual platforms with consistent, striking content.
💡 Tips & Tricks: Capturing Breathtaking Landscapes
- Scout locations in advance with apps like PhotoPills to plan lighting and compositions.
- Shoot in RAW for maximum flexibility during editing.
- Use varying weather conditions: storms, mist, and snow can provide captivating atmospheres.
- Experiment with long exposures to transform water and cloud movement into artistic textures.
- Shift perspective by kneeling close to foreground elements or climbing higher vantage points.
📸 Sample Scenario
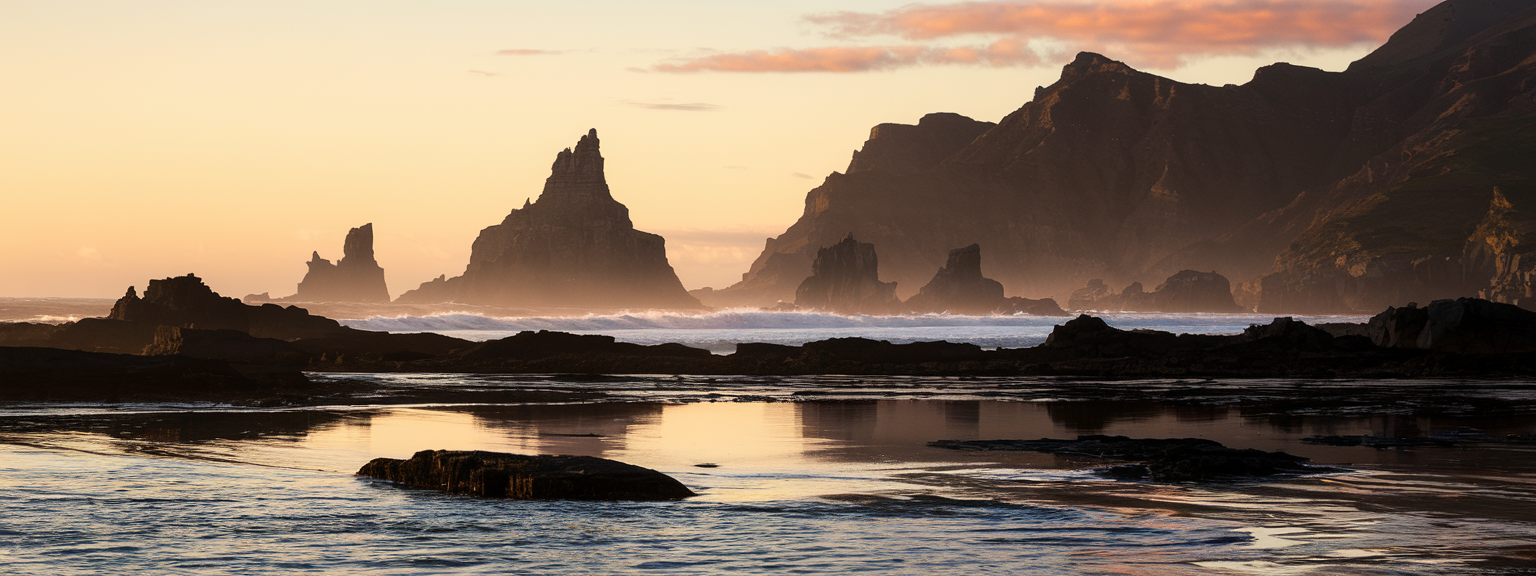
Imagine arriving on a windswept coastal cliff before sunrise. With tripod set and camera at ISO 100, f/11, and a 1-second shutter, you frame tide pools in the foreground reflecting the pink sky.
By employing a polarizer to reduce glare on wet rocks and extending exposure slightly, you transform crashing waves into misty textures.
This blend of technical mastery and creative framing exemplifies scenic photography at its finest.
✅ Key Do’s for Effective Usage
- Do prioritize tripod use for sharpness.
- Do bracket exposures to blend details across lighting ranges.
- Do include defined focal subjects to avoid flat, empty landscapes.
- Do analyze histograms for proper dynamic range.
- Do research environmental and safety conditions before heading out.
❌ Common Mistakes to Avoid
- Avoid shooting exclusively during midday, when contrast is harsh.
- Do not oversaturate colors during editing.
- Never underestimate the value of foreground and scale for depth.
- Avoid unsafe exploration on cliffs or unstable paths.
- Do not rely solely on auto settings—manual adjustments are crucial.
🔄 Troubleshooting & FAQs
What are the best camera settings for landscape photography?
The default recommendation is ISO 100, aperture f/8–f/16 for wide depth of field, and variable shutter speeds. Always mount your camera on a tripod in low-light conditions.
How do I avoid losing detail in bright skies?
Use exposure bracketing and blend the images in post-production (HDR technique). Graduated neutral density filters can also balance the exposure between sky and land.
When is the best time of day for scenic photography?
Golden hour and blue hour provide unmatched results, though stormy skies and mist can yield equally compelling images.
Can I capture breathtaking landscapes with a smartphone?
Yes. Many smartphones feature wide lenses, RAW shooting modes, and manual adjustments, making them capable of excellent outdoor photography in skilled hands.
How do I make my photos look professional and not just tourist snapshots?
Focus on strong composition, deliberate use of light, incorporating scale, and editing that enhances natural elements without exaggeration.
🖼️ Bringing It All Together
In conclusion, capturing breathtaking landscapes is more than a technical process—it is connection, creativity, and practice in harmony.
By incorporating refined landscape photography tips and deliberate nature photography techniques, you transform scenery into visual poetry.
Remember—the key to mastery is consistency. The more landscapes you capture, the stronger your eye for light, texture, and composition becomes. With each image, you grow closer to refining your personal artistic vision.
Visit our Photography Content Hub
Smart Resize by SmartLink Basics iPhone or iPad app
“`

![[Getting Started With Camera - Beginner Setup] [Beginner photographer adjusting camera settings while learning how to get started with camera]](https://lenslesson.com/wp-content/uploads/2025/12/getting-started-with-camera-beginner-setup.png)
![[Stunning Images Editing Workflow] [Photographer editing a vibrant landscape on a monitor, demonstrating techniques for stunning images]](https://lenslesson.com/wp-content/uploads/2025/12/advanced-stunning-images-editing-workflow.png)
![[sports-photography-action-shot] [Photographer using a telephoto lens to capture a fast break at a basketball game — Sports Photography]](https://lenslesson.com/wp-content/uploads/2025/12/sports-photography-action-shot-telephoto-basketball.png)
![[Travel photography sunrise capture] [Photographer capturing sunrise landscape during a travel photography trip with a mirrorless camera]](https://lenslesson.com/wp-content/uploads/2025/12/travel-photography-sunrise-shot-essentials.png)
![[Photo Tips Sharper Shots] [Close-up of a photographer adjusting camera settings - Photo Tips for sharper shots]](https://lenslesson.com/wp-content/uploads/2025/12/photo-tips-better-photos-smartphone-composition.png)
![[Urban Street Photography Moment] [Photographer capturing a candid moment on a busy city sidewalk — street photography scene]](https://lenslesson.com/wp-content/uploads/2025/12/street-photography-candid-urban-moment.png)


