Unlock the Power of Manual Photography: A Beginner’s Guide

📝 Step-by-Step Guide: Manual Photography
Understanding the Exposure Triangle
Manual Photography is the art of controlling all elements of your camera settings to achieve the perfect shot. In this step-by-step guide, we will begin by exploring the Exposure Triangle, a critical concept involving aperture, shutter speed, and ISO. As you learn about these components, you will gradually master manual mode, allowing you the freedom to capture brilliant images even under challenging lighting conditions.
Adjusting Aperture for Creative Depth
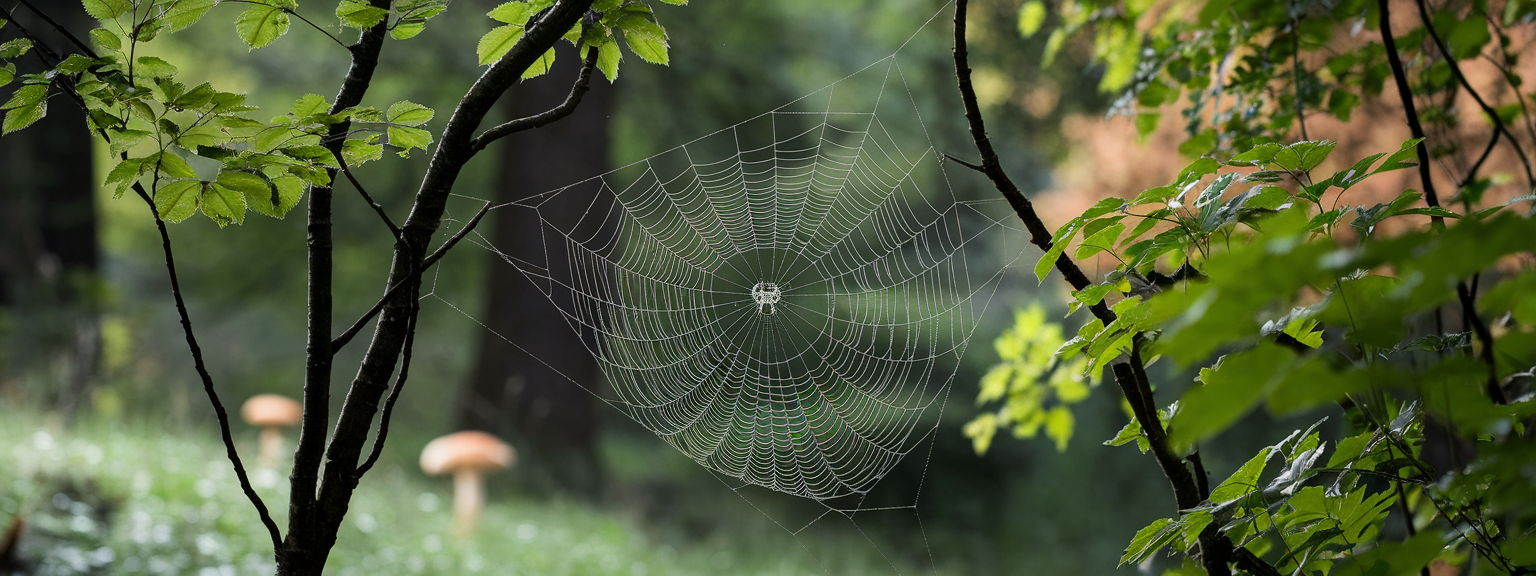
Aperture, measured in f-stops, controls the amount of light that enters your camera. For beginner photography enthusiasts, understanding aperture is essential. A wider aperture (a lower f-stop number) creates a shallow depth of field, making your subject stand out against a blurred background. Conversely, a smaller aperture (a higher f-stop number) keeps both your foreground and background in focus, which is ideal for landscape photography.
Mastering Shutter Speed to Freeze or Blur Motion
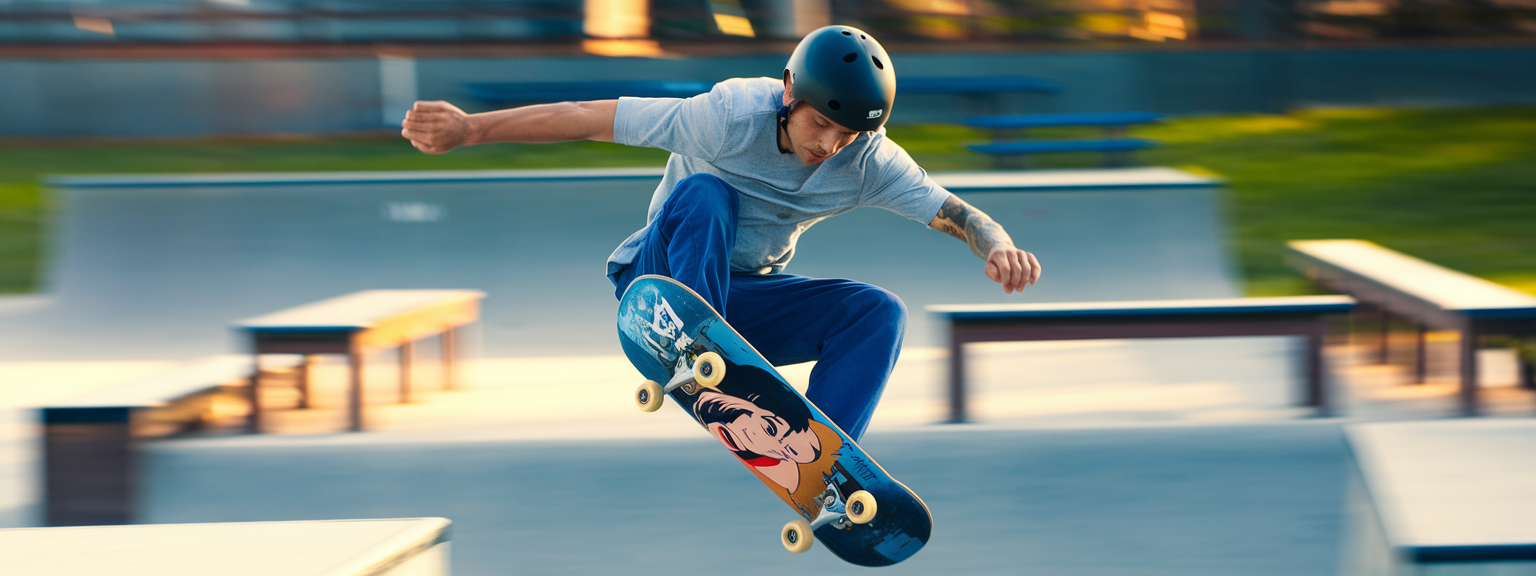
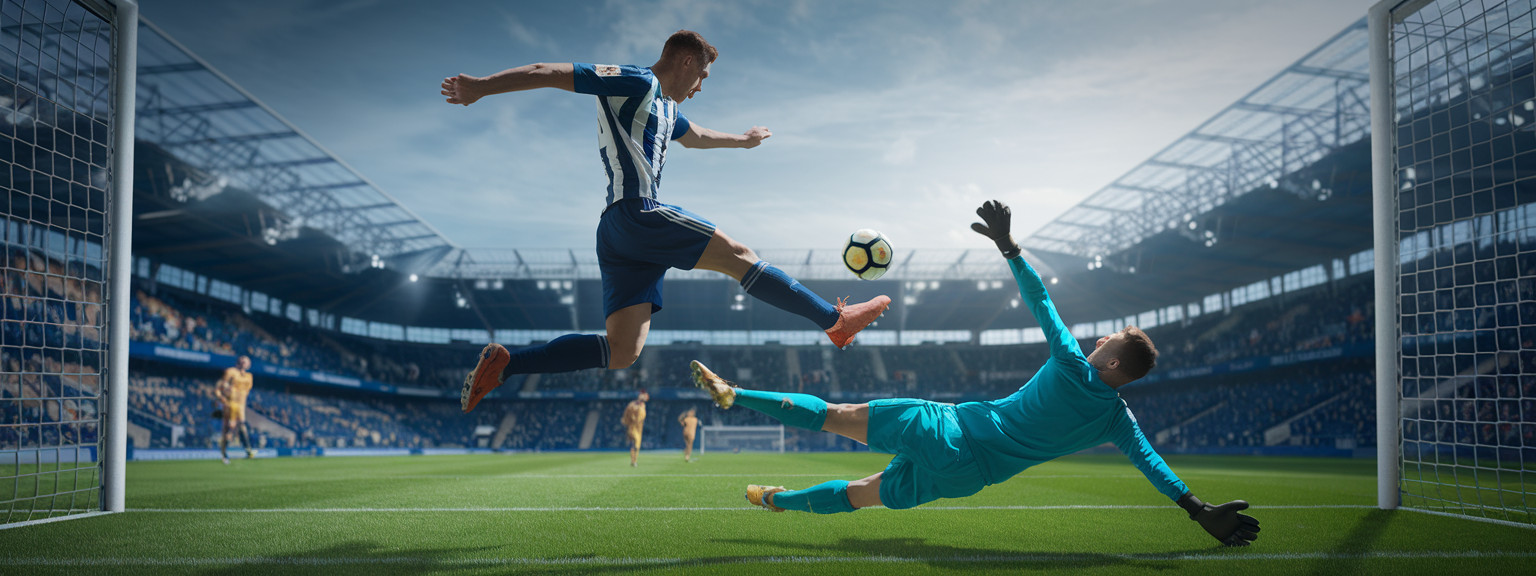
Shutter speed, another crucial element of Manual Photography, determines how long your camera’s sensor is exposed to light. A faster shutter speed is perfect for freezing fast-moving subjects, such as athletes or wildlife, while a slower shutter speed can create a sense of motion with blur effects. Experiment with these settings to see how they can enhance different photographic scenarios.
Balancing ISO for Noise and Clarity
ISO is your camera’s sensitivity to light. In Manual Photography, choosing the right ISO is essential for maintaining clarity without introducing noise. For well-lit scenes, use a low ISO to keep the image clean and sharp, but in dimmer conditions, you may have to increase the ISO. However, this comes with the trade-off of potential grain. Learning to balance these settings is key for any beginner photographer aiming to create stunning images.
Throughout this guide, the integration of Manual Photography strategies with fundamental Photography Tips dramatically improves your control over Camera Settings. As you progress, remember that Manual Mode is a journey, where experience counts as much as understanding technical parameters. Transitioning from Auto to manual settings is one of the most talked-about steps for Beginner Photography enthusiasts worldwide, as it underlines a creative process that relies on experimentation and confidence.
📌 Practical Applications: Manual Photography
Portrait Photography in Natural Light
Manual Photography plays a pivotal role in portrait photography. It allows you to adjust the aperture to create a soft, blurred background that makes your subject pop. Using a combination of low ISO and moderate shutter speeds, you can produce clear, vibrant images that capture the personality and mood of your subject. Experiment with these settings to see dramatic improvements in your work.
Landscape Photography with High Detail
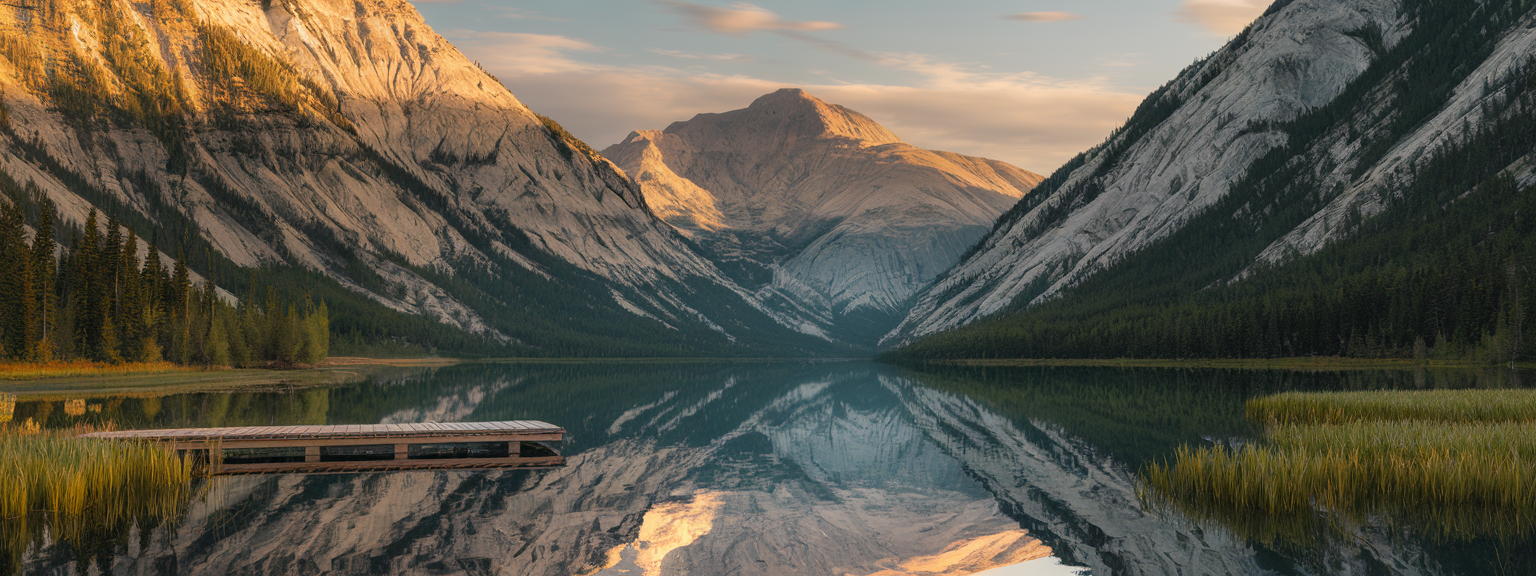
In landscape photography, Manual Photography techniques help you achieve a deep depth of field by selecting a high f-stop number. This will result in both foreground and background being in sharp focus. Additionally, using a low ISO in bright daylight conditions reduces noise and improves image quality. The strategic use of Manual Mode and Photography Tips optimizes your camera settings in varied environments, ensuring each image is filled with clarity and vibrant colors.
Night and Low-Light Photography
Manual Photography shines when capturing the beauty of night scenes or low-light environments. Adjusting your shutter speed and increasing the ISO allows you to capture more light while maintaining control over the final image quality. However, be cautious: too high an ISO can introduce noise, so experimenting with your camera settings is key. Whether you are capturing cityscapes or star trails, a well-adjusted manual setup can truly elevate your work.
💡 Tips & Tricks: Manual Photography
Experiment with Different Settings
One of the best ways to master Manual Photography is to experiment with different combinations of aperture, shutter speed, and ISO. Begin by shooting in varied lighting conditions. This practice will not only improve your technical skills but also deepen your understanding of how each setting influences your final image. In addition, you can combine these Photography Tips with Exposure Triangle concepts to add artistic flair to your shots.
Use Manual Mode Regularly
Switching to manual mode as soon as you can is essential for growth in Manual Photography. The more you practice, the more intuitive the interactions between Camera Settings become. Over time, you’ll be able to adjust your settings quickly and accurately, making it easier to capture the perfect shot in rapidly changing environments.
Leverage the Power of Light
Understanding natural light is one of the major Photography Tips that can enhance your Manual Photography skills. Early mornings or late afternoons offer the best natural lighting conditions. During these times, you can experiment with longer shutter speeds without overexposing the image, allowing you to capture warm and dramatic tones that elevate the impact of your photograph.
📸 Sample Scenario
Capturing a Sunset in Manual Mode
Imagine you are on a beach at sunset. By switching to Manual Photography, you have full control over your camera settings. Begin with a moderately low ISO to preserve image quality. Adjust your aperture to a mid-range f-stop, ensuring both the sun and the reflective water are in focus. Finally, choose a slower shutter speed to capture the ambient light and the motion of the crashing waves. Such a scenario highlights the benefits of manually controlling every parameter, leading to a spectacular and balanced photograph. This scenario perfectly intertwines Beginner Photography principles with advanced Manual Mode techniques that even seasoned photographers use.
✅ Key Do’s for Effective Usage
Plan Your Shoot
Effective Manual Photography begins with thorough planning. Scout your location to understand the optimal natural lighting and to identify potential subjects. Planning ahead prevents rushing into settings adjustments under pressure, ensuring you get the best shot possible. In addition, this careful planning allows you to integrate Photography Tips such as using the Exposure Triangle to balance your shot.
Practice Regularly
Practice is paramount. The more often you use Manual Mode, the more familiar you become with your camera’s controls. Each shooting session is an opportunity to refine your skills on Aperture, Shutter Speed, and ISO. Regular practice enhances not only your technical abilities but also your creative vision. Moreover, consistent practice makes it easier to recall and apply key Photography Tips when needed.
Review and Learn from Your Shots
After every session, review your photos critically. Analyze what worked and what did not from a Manual Photography perspective. Look at your aperture settings, shutter speed, and ISO to see if adjustments are needed for future shoots. This reflective practice is essential for growth as a photographer and for mastering manual camera settings like Camera Settings, Shutter Speed, Aperture, ISO, and Manual Mode.
❌ Common Mistakes to Avoid
Overcomplicating Settings
While Manual Photography gives you complete control, one common mistake is overcomplicating the settings. Many beginners become overwhelmed by the multitude of adjustments available and lose sight of the primary goal: capturing a compelling image. Therefore, focus on the primary elements of the Exposure Triangle before experimenting with additional adjustments.
Ignoring the Environment
Another frequent error is ignoring environmental factors. Relying solely on your camera’s settings without considering external light sources can lead to poorly exposed images. Instead, take note of how natural light, weather, and time of day affect your shot. Recognizing these factors helps in achieving the right balance between aperture, shutter speed, and ISO.
Sticking Rigidly to Manual Mode
Even though Manual Photography is a powerful tool, sticking rigidly to it in every circumstance can be counterproductive. Sometimes, a semi-automatic mode like aperture priority or shutter priority can be beneficial, especially if you are trying to capture fast-moving subjects. Understanding when to switch between manual and semi-automatic modes is a skill that comes with experience. Therefore, always assess your environment before deciding your shooting mode.
🔄 Troubleshooting & FAQs
Why is my image too dark when shooting in manual mode?
If your Manual Photography shots are coming out too dark, it is likely that your shutter speed is too fast or your ISO is too low. Adjusting these settings can help you capture more light. Remember, the exposure triangle requires balance: modifying one setting often means compensating with another.
How can I reduce noise in low-light photographs?
Shooting in low-light conditions can increase noise because you may be inclined to raise your ISO. To reduce noise, try to use a tripod, lower your shutter speed, and make sure to shoot at the lowest ISO possible while still achieving the correct exposure. Additionally, post-processing software can help minimize noise.
When should I use manual mode over auto mode?
Manual Photography is particularly useful when you need complete control over your Camera Settings, such as during challenging lighting scenarios, artistic projects, or when capturing a specific mood. While auto mode is great for quick snapshots, manual mode allows you to implement Photography Tips like adjusting the Exposure Triangle for creative effects.
Can I still use manual settings on modern digital cameras?
Yes, nearly all modern digital cameras offer full manual mode. Whether you are using a DSLR or a mirrorless camera, taking control of settings like Aperture, Shutter Speed, and ISO can elevate your photography skills significantly. Hence, exploring Manual Mode is essential for anyone serious about Manual Photography.
🖼️ Bringing It All Together
Integrating Your Skills to Create Stunning Photographs
Manual Photography is more than a collection of technical adjustments; it’s a creative approach that unleashes your full potential as a photographer. By harnessing the Exposure Triangle, tuning your Camera Settings, and applying essential Photography Tips, you can create images that are not only technically sound but also emotionally engaging. Whether you are capturing the rich hues of a sunset or the intricate details of a bustling city street, every element plays a role in the story your photograph tells.
The journey to mastering Manual Photography takes practice, patience, and a willingness to experiment. As you continue to hone your skills, remember to review and adjust your techniques based on both successful and less-than-ideal results. This continuous improvement will ensure your creative vision remains fresh and dynamic, allowing you to stand out as an expert in beginner photography and beyond.
By combining all the learnings from this comprehensive guide—understanding technical concepts, planning your shoot, avoiding common mistakes, and always striving to improve—you can transform your photography. Manual Photography not only empowers you to produce sharper, more creative images, but it also opens up a world of artistic possibilities that automatic settings simply cannot match.
Dive into the world of Manual Photography with confidence, and embrace the journey of creative exploration. With practical applications across various shooting scenarios, essential do’s, suggested Photography Tips, and troubleshooting advice, your path to becoming a seasoned photographer is well within reach. Enjoy the process, learn continuously, and most importantly, have fun capturing life one frame at a time.
Manual Photography, enriched with Exposure Triangle theory and practical guidance on Camera Settings, is a potent tool that every beginner and advancing photographer should master. Remember, every click is an opportunity to tell a story, so utilize Manual Mode to control light, contrast, and mood exactly as you envision it.
As you grow more comfortable with Manual Photography, you will notice the evolution in your work. Embrace both the technical and creative aspects of photography, and let your images speak for themselves. With each practice session, your confidence in using Manual Mode will increase, leading to consistently better results and unique artistic creations that resonate with your audience.
Remember, mastering manual settings like aperture, shutter speed, and ISO is a continuous learning process. Enjoy each step, and let your passion for photography drive you to innovate and experiment in every shoot!

![[Travel Photography Sunrise Shot] [Photographer capturing a mountain sunrise with camera — travel photography]](https://lenslesson.com/wp-content/uploads/2025/10/travel-photography-sunrise-camera-essentials.png)
