Your Ultimate Guide to Getting Started with Your Camera

📝 Step-by-Step Guide: Getting Started With Camera
Starting your journey with Getting Started with Camera requires a methodical approach. In this section, we provide a detailed, step-by-step guide to help you familiarize yourself with camera basics, sharpen your photography tips, and build a solid foundation for digital photography. Understanding exposure, mastering camera settings, and applying photography techniques are essential for every beginner camera guide.
Step 1: Unboxing and Familiarizing Yourself with the Camera
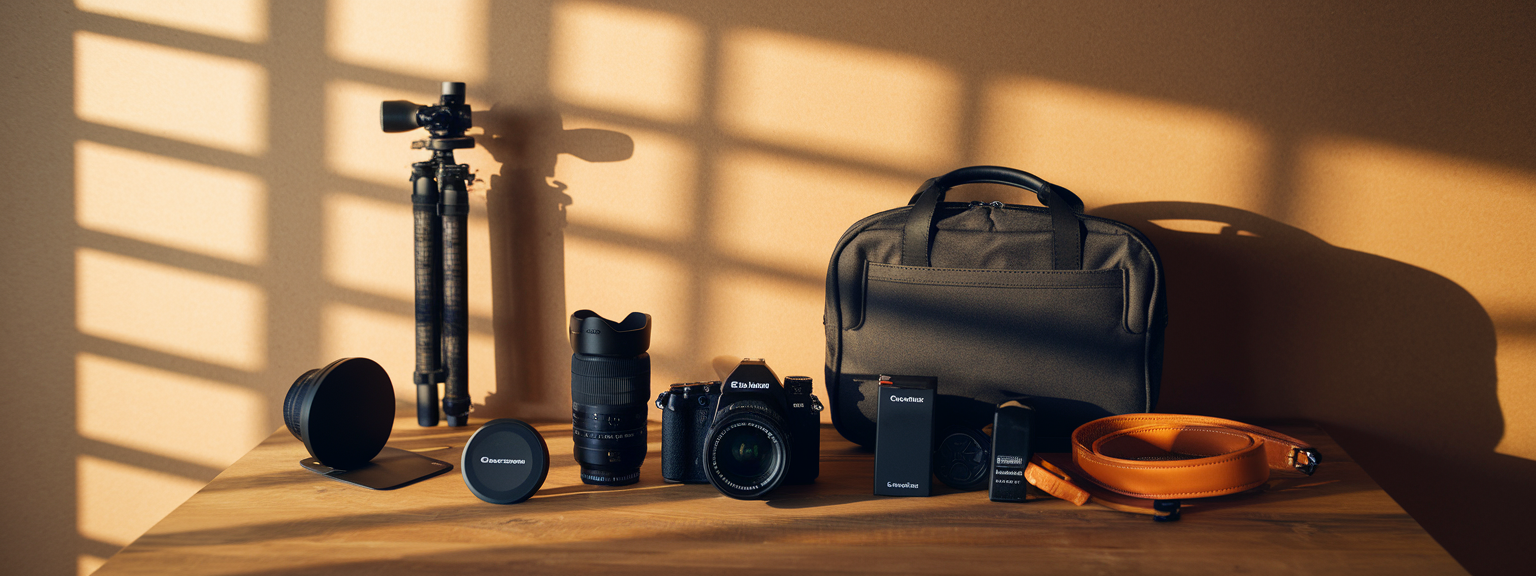
Begin by unboxing your camera and checking that all accessories are present. Inspect the battery, charger, lens cap, and printed manual. This stage is crucial for getting started with Camera for the first time while also familiarizing yourself with camera basics and photography tips.
- Inspect for any damage during shipping.
- Locate the power switch, mode dial, and other main controls.
- Review the manufacturer’s instructions for safety and usage guidelines.
Step 2: Charging the Battery and Inserting Memory Cards
A fully charged battery and an inserted memory card are indispensable for smoothly operating your camera. Follow these steps:
- Charge the battery using the provided charger until full.
- Insert a high-speed memory card with ample storage capacity.
- Format the memory card via the camera’s menu for enhanced performance.
Step 3: Setting Up the Camera—Adjust Basic Settings
After powering up your camera, adjust the basic settings to ensure optimal operation. This includes:
- Setting your date, time, and language preferences.
- Checking for firmware updates to improve performance.
- Exploring core settings like image quality (RAW vs. JPEG), white balance, and ISO sensitivity.
- Activating grid overlays and features such as focus peaking within camera settings.
Step 4: Understanding the Camera Modes
Modern cameras offer multiple modes for various shooting scenarios. Understanding these modes is fundamental to Getting Started with Camera:
- Auto Mode: The camera automatically optimizes settings for you.
- Program Mode (P): A mix of automatic and manual selections.
- Aperture Priority (A or Av): Set the aperture while the camera adjusts the shutter speed.
- Shutter Priority (S or Tv): Control shutter speed, ideal for fast-moving subjects.
- Manual Mode (M): Provides full control over exposure settings.
Step 5: Exploring Autofocus and Exposure Settings
Learning how autofocus and exposure work is essential for capturing high-quality images with Getting Started with Camera. Experiment with different autofocus modes:
- Single-shot autofocus (AF-S) for still subjects.
- Continuous autofocus (AF-C) for moving subjects.
- Manual focus (MF) for precise adjustments.
In addition, understanding exposure factors (ISO, shutter speed, and aperture) is critical. Adjust these settings to see how they work together to create the perfect exposure.
Step 6: Experimenting with Composition Tools
Good composition transforms a simple snapshot into a captivating image. Begin using tools such as:
- The Rule of Thirds.
- Leading Lines.
- Symmetry and Patterns.
Step 7: Taking Your First Shots
Venture into familiar settings and start taking photos. Whether capturing landscapes, portraits, or everyday objects, this practice will help reinforce your understanding of Getting Started with Camera. Experiment with various lighting conditions and angles to immediately see the effects of different camera settings.
Step 8: Reviewing and Analyzing Your Images
After your initial photo session, review your images carefully. Analyze how changes in exposure, focus, and composition have affected your shots. Maintaining a photography journal detailing what worked and what did not will accelerate your growth in digital photography.
📌 Practical Applications: Getting Started With Camera
Applying the technical skills you learned is vital for mastering Getting Started with Camera. In this section, we explore various practical scenarios where you can apply your camera basics and photography tips.
Everyday Photography
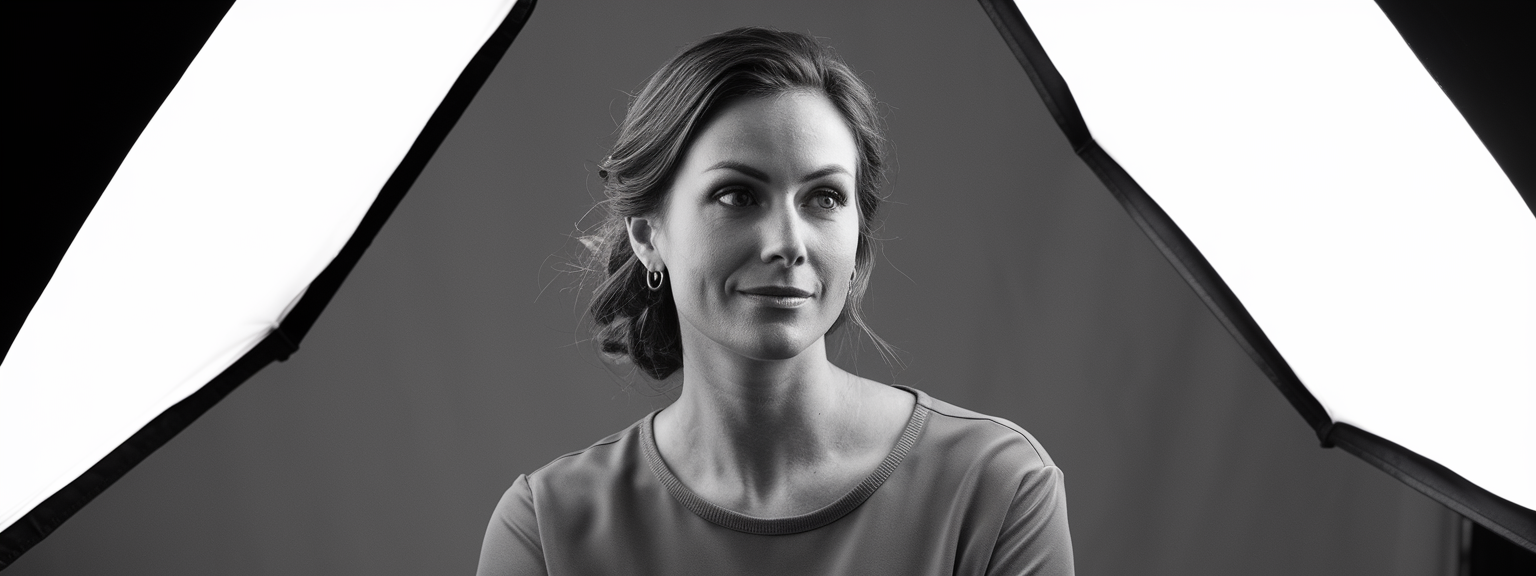
Use your camera each day to capture moments that matter. Whether taking a family portrait or snapping scenes at your local park, everyday photography is the perfect playground for applying your knowledge about camera settings and photography techniques.
Travel Photography
Travel photography presents unique challenges and opportunities. Before you travel, research the locations and lighting conditions you will encounter. In travel photography, adopting manual mode and paying attention to natural light are key to excelling in Getting Started with Camera.
Macro Photography
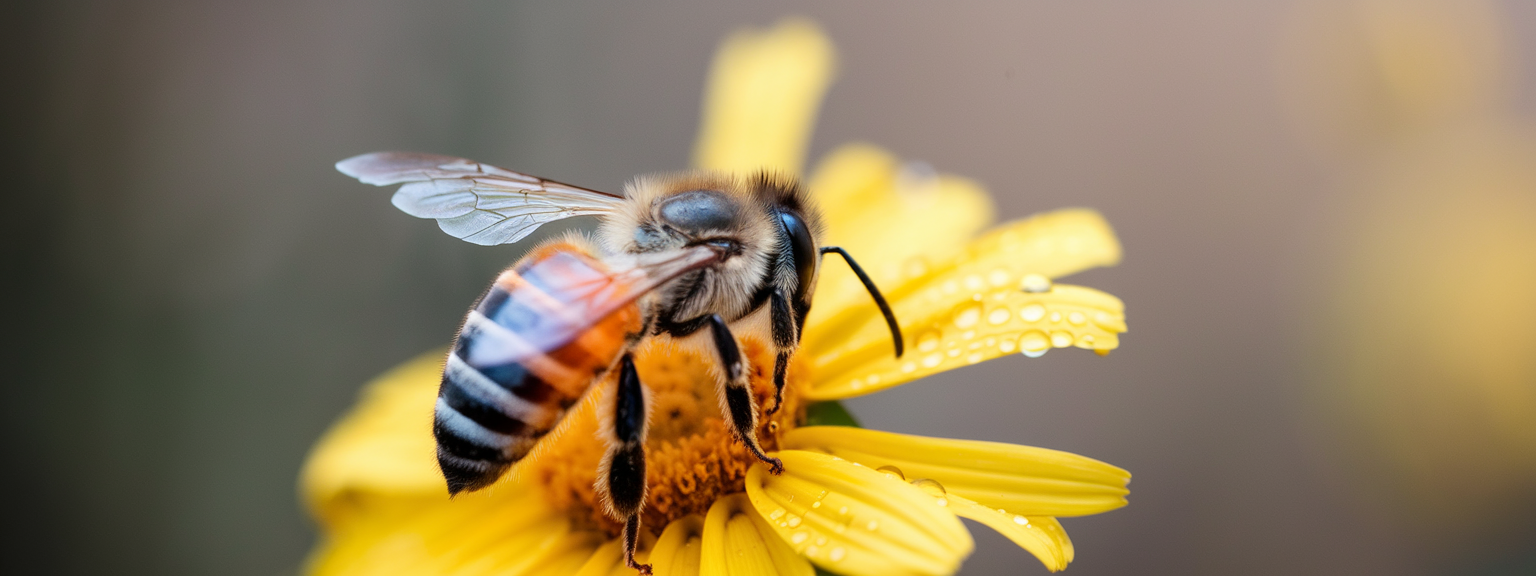
Macro photography allows you to explore detailed views of small subjects. Get up close with flowers, insects, or textures. This practice enhances your grasp on camera settings, focusing techniques, and the finer points of digital photography.
Event and Action Photography
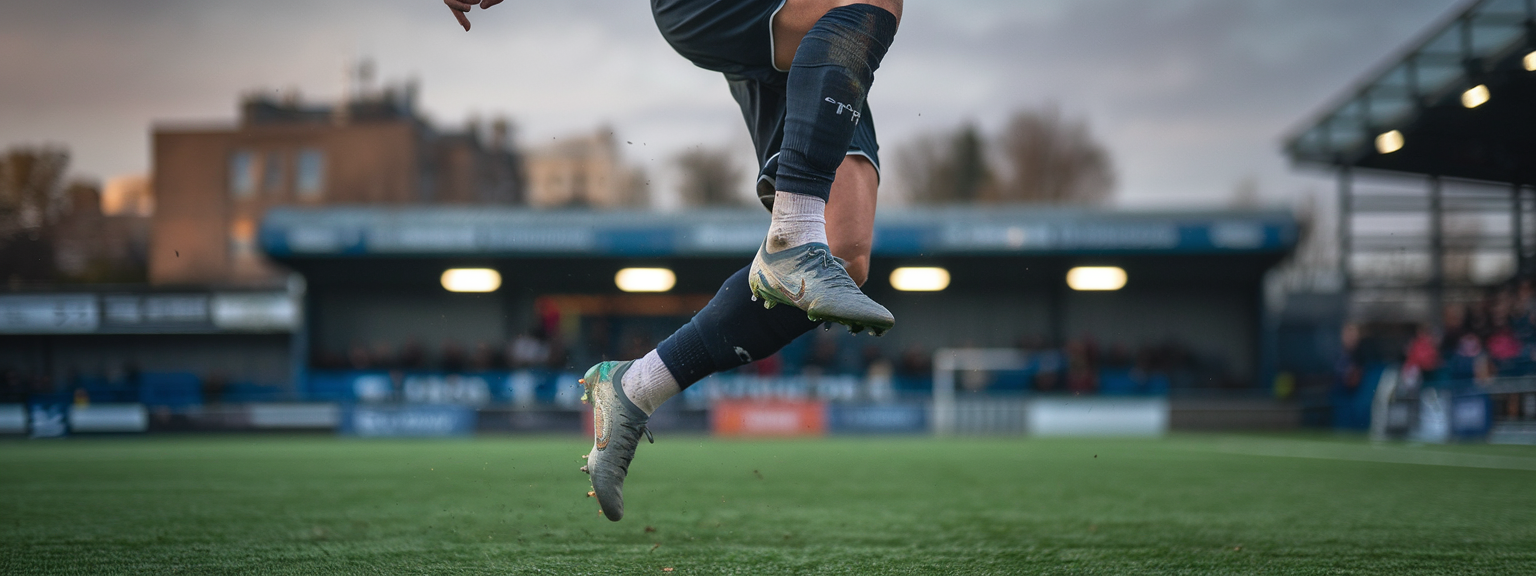
For fast-paced events, such as live concerts or family gatherings, train your camera to excel in continuous autofocus (AF-C) and rapid shooting modes. These scenarios allow you to apply photography tips in real-time and refine your ability to quickly adjust camera settings to capture dynamic moments.
Night Photography
Night photography is both challenging and rewarding. Utilize a tripod for stability, lower the ISO to reduce noise, and experiment with long-exposure techniques to capture light trails and star trails. Such techniques reinforce your understanding of exposure and camera settings.
💡 Tips & Tricks: Getting Started With Camera
To further enhance your experience with Getting Started with Camera, incorporate these expert tips and actionable tricks into your photography routine. These strategies not only improve camera basics but also empower you to explore advanced photography techniques in digital photography.
Tip 1: Always Shoot in RAW Format
Shooting in RAW preserves all image data, providing flexibility during post-processing. This format is fundamental in Getting Started with Camera, as it captures detailed information for better adjustments in exposure and white balance.
Tip 2: Master Your Composition Early
Even if you are still learning the technical aspects, a well-composed image goes a long way. Utilize the grid overlay and adhere to the rule of thirds to create balanced, engaging images.
Tip 3: Embrace Manual Mode Gradually
Manual mode may seem daunting but it provides unmatched creative control. Start with controlled shoots in familiar environments, then progressively experiment with different settings in various conditions.
Tip 4: Use a Tripod for Stability
A stable tripod minimizes camera shake and is especially crucial during low-light or long-exposure shots. This is an essential component of Getting Started with Camera that improves clarity in your final images.
Tip 5: Learn from Your Mistakes
Review each session critically. Identify areas in exposure, focus, or composition where improvements can be made. This self-assessment is a key practice when mastering Getting Started with Camera and photography techniques.
Tip 6: Customize Your Camera Settings
Many cameras allow you to save custom settings for different scenarios. Experiment with and store presets, so you are always prepared, whether you are shooting landscapes, portraits, or night scenes. This flexibility is at the heart of Getting Started with Camera.
Tip 7: Engage with the Photography Community
Join online forums, local photography clubs, or social media groups. Feedback from fellow enthusiasts will inspire new ideas and provide you valuable insights into your progress with Getting Started with Camera.
Tip 8: Keep Experimenting with Lighting
Lighting is a game-changer. Experiment with both natural and artificial lights, and understand the impact on exposure and mood. This continuous experimentation will further your mastery of Getting Started with Camera.
📸 Sample Scenario
Imagine capturing a breathtaking cityscape at sunset using Getting Started with Camera techniques. In this detailed scenario, you will apply manual settings and composition tools to capture the perfect shot.
Scenario Setup
Choose a high vantage point that offers a panoramic view of the city. Set your camera to manual mode (M) to enable full control over exposure. Begin by configuring your settings:
- ISO between 100-200 for lower noise.
- Aperture set between f/8 and f/11 to capture a deep depth of field.
- Shutter speed around 10-15 seconds to accommodate the changing light at sunset.
Composition and Focus
Enable the grid overlay and use the rule of thirds to position the city’s skyline and iconic landmarks. Set the autofocus mode to AF-S to lock in on a static scene, ensuring a sharp, well-defined image.
Taking the Shot and Post-Processing
Use a remote shutter release to avoid any camera shake. After capturing the photograph, review the image on your camera or computer. Use editing tools in Lightroom or Photoshop to adjust exposure, contrast, and white balance, ensuring that the colors of the sunset are vibrant and true to life.
✅ Key Do’s for Effective Usage
Embrace these essential practices for mastering Getting Started with Camera and excelling in digital photography.
Do Experiment Frequently
Always venture outside your comfort zone. Experiment with different shooting modes, lighting conditions, and compositions to deepen your understanding of camera settings and photography techniques.
Do Learn Your Camera’s Manual
Your camera manual is an invaluable resource. Delve into it to understand advanced settings and features that will help you maximize the potential of Getting Started with Camera.
Do Maintain Your Equipment
Regularly clean your lens, sensor, and camera body to ensure clear images. Proper maintenance can prevent unexpected issues that may interrupt your photography sessions.
Do Backup Your Photos
Develop a reliable system for transferring and backing up your images. This practice ensures that your work, captured with Getting Started with Camera techniques, is safely preserved.
Do Develop a Routine
Establish a checklist for your shoots. A routine helps you verify that every critical setting, from ISO to shutter speed, is correctly configured before you start shooting.
Do Engage with the Photography Community
Participate in online forums and local photography groups. Sharing your work and receiving constructive critiques is essential for continual growth.
Do Invest in Quality Lenses
Upgrading your lenses can offer significant improvements in image quality. As you progress with Getting Started with Camera, quality equipment will help you capture professional-level images.
❌ Common Mistakes to Avoid
Avoid these common pitfalls that beginners often face when getting started with Camera. Being mindful of these mistakes will improve your overall photography approach.
Over-Reliance on Auto Mode
While auto mode is convenient, it restricts creative control. Transition to manual and semi-manual modes to harness full command over your exposure and composition.
Ignoring Composition and Lighting
Even if your technical settings are correct, poor composition or improper lighting can spoil a shot. Always leverage techniques such as the rule of thirds and be mindful of your light sources.
Excessive Post-Processing
Relying too heavily on editing software to fix a poorly captured image detracts from improving your in-camera techniques. Strive to get the perfect shot by mastering Getting Started with Camera equipment and settings.
Underestimating Battery Life and Storage
Neglecting these aspects can lead to missed opportunities. Always carry spare batteries and memory cards, and be sure to back up your photos regularly.
Skipping the Setup Process
Taking shortcuts during setup can result in improper focus or exposure. Dedicate sufficient time to properly set up your camera before every shoot.
Avoiding Mode Experimentation
Don’t restrict yourself to only one mode. Experimenting with various shooting modes can help you better understand the full capabilities of Getting Started with Camera.
🔄 Troubleshooting & FAQs
Even experienced photographers encounter challenges while using Getting Started with Camera. Below are some frequently asked questions along with practical solutions to common issues.
Q1: Why are my images too dark or too bright?
A: Adjust the exposure settings. Modify ISO, shutter speed, and aperture until achieving the desired balance. Use the exposure compensation feature for fine-tuning brightness.
Q2: Which focus mode should I choose?
A: The appropriate focus mode depends on your subject. For still objects, opt for AF-S; for moving subjects, switch to AF-C. In low light or complex scenes, consider manual focus for precise adjustments.
Q3: What causes blurry photos?
A: Blurriness can result from camera shake, misfocusing, or unsuitable shutter speeds during low light. Use a tripod, review your focus settings, and ensure your shutter speed is appropriate for the conditions.
Q4: How can I improve my composition quickly?
A: Utilize grid overlays and follow established composition rules like the rule of thirds. With regular practice using Getting Started with Camera techniques, intuitive framing will improve gradually.
Q5: Is shooting in RAW necessary?
A: While JPEG is convenient, RAW files offer extensive post-processing flexibility. They preserve intricate details and allow greater adjustments to exposure and white balance.
Q6: How do I manage low-light situations?
A: For low-light photography, combine lower ISO settings with a wider aperture, use longer shutter speeds with a tripod, and apply noise reduction in post-processing if necessary.
Q7: My menu options are overwhelming. How should I start?
A: Begin with the fundamentals—focus on ISO, shutter speed, and aperture. Gradually expand your knowledge by exploring additional features as your comfort with Getting Started with Camera grows.
🖼️ Bringing It All Together
By now, you have explored a comprehensive guide on Getting Started with Camera. From unboxing your gear to mastering exposure, composition, and practical shooting scenarios, every element contributes to enhancing your photography skills. Continuously apply these techniques and tips to develop a strong command over camera settings and photography basics. This guide is designed to be a living document—refer back to it as you progress and experiment with advanced photography techniques.
Every click of your shutter is a step toward mastering photography. Continue learning, reviewing, and experimenting to steadily evolve into a proficient photographer.
Remember, expertise in Getting Started with Camera comes with practice and perseverance. You now have the tools and insights to transform your passion for digital photography into an art form!

![[Stunning Images Editing Workflow] [Photographer editing a vibrant landscape on a monitor, demonstrating techniques for stunning images]](https://lenslesson.com/wp-content/uploads/2025/12/advanced-stunning-images-editing-workflow.png)
![[sports-photography-action-shot] [Photographer using a telephoto lens to capture a fast break at a basketball game — Sports Photography]](https://lenslesson.com/wp-content/uploads/2025/12/sports-photography-action-shot-telephoto-basketball.png)
![[Travel photography sunrise capture] [Photographer capturing sunrise landscape during a travel photography trip with a mirrorless camera]](https://lenslesson.com/wp-content/uploads/2025/12/travel-photography-sunrise-shot-essentials.png)
![[Photo Tips Sharper Shots] [Close-up of a photographer adjusting camera settings - Photo Tips for sharper shots]](https://lenslesson.com/wp-content/uploads/2025/12/photo-tips-better-photos-smartphone-composition.png)
![[Urban Street Photography Moment] [Photographer capturing a candid moment on a busy city sidewalk — street photography scene]](https://lenslesson.com/wp-content/uploads/2025/12/street-photography-candid-urban-moment.png)


