Unlocking Light Painting Photography: A Beginner’s Guide

📝 Step-by-Step Guide: Light Painting Photography
Understanding the Fundamentals
Light Painting Photography is an exciting form of creative photography that blends art with technical precision. In this guide, we will explore how to master the techniques of Night Photography and Long Exposure Photography while incorporating various light sources. Initially, it is important to understand that the fundamental process involves using a prolonged exposure combined with moving light sources to create a visual narrative. Therefore, you must first familiarize yourself with your camera settings and available equipment.
Gathering Your Equipment
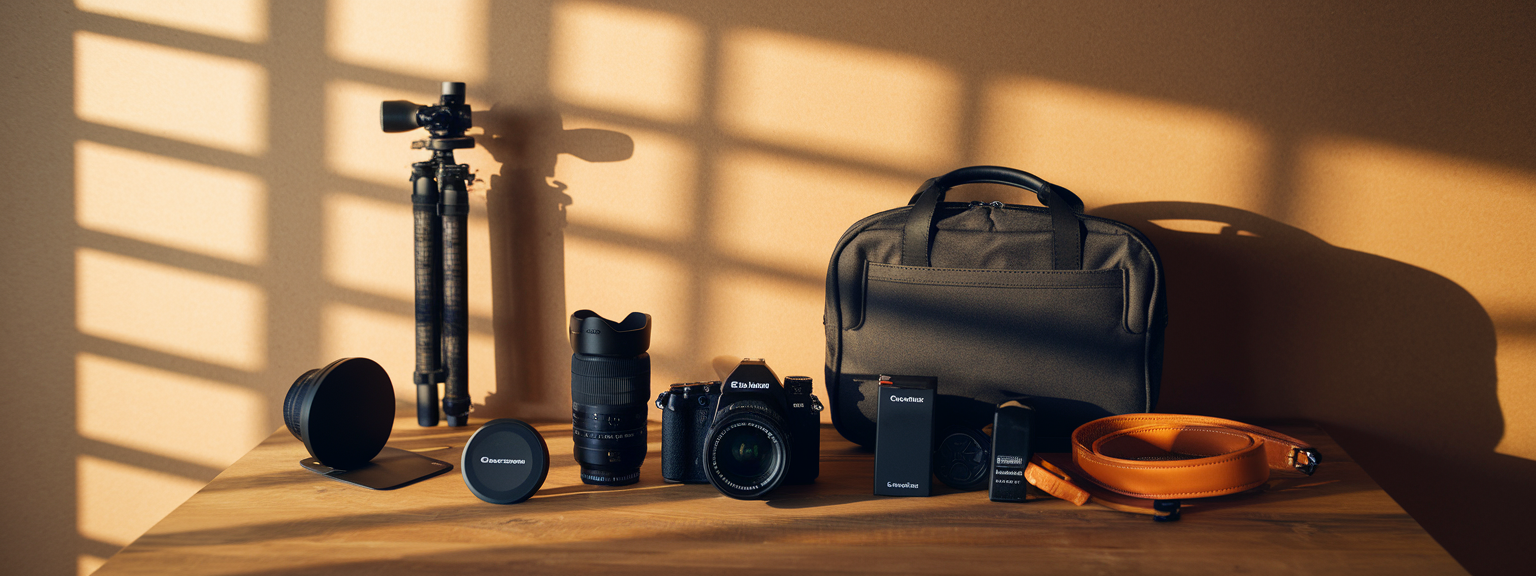
To start with, you will need a camera that offers manual settings, a sturdy tripod to maintain stability during long exposures, and various light sources such as flashlights, LEDs, or even glow sticks. Additionally, consider having a remote shutter release to avoid any camera shake. By carefully selecting your gear, you can elevate your Light Painting Photography, which is not only about capturing static images but also about creating dynamic art.
Camera Settings and Techniques
Next, set your camera to manual mode. Start with an aperture of around f/8 to f/16, which helps in keeping more of the scene in focus. Then, set the ISO as low as possible (typically 100-200) to reduce noise, and experiment with exposure times ranging from 5 to 30 seconds depending on your desired effect. In addition, practice tracking your light source while the shutter is open. This method not only improves your creative composition but also reinforces your understanding of Night Photography and Long Exposure Photography.
Planning Your Shot
Before you step outside, it’s essential to plan your composition. Research interesting outdoor locations that offer minimal light pollution and unique backgrounds. Consider mapping out your light movement path in advance and practicing with your light source. This planning phase is crucial because it directly impacts the narrative you convey through your creative photography. Additionally, when experimenting with various techniques, you may discover that blending the principles of Light Painting Photography with Night Photography creates stunning visual results.
📌 Practical Applications: Light Painting Photography
Artistic Expression and Event Photography
Light Painting Photography is widely used for artistic expression as well as event photography. For example, many artists use long exposure techniques and creative lighting to capture mesmerizing visual elements during festivals or in urban settings. Furthermore, outdoor photography enthusiasts take advantage of this method to highlight specific elements during nighttime cityscapes. By integrating Night Photography techniques with long exposure, photographers can generate a transformative and captivating visual narrative.
Enhancing Commercial and Social Media Projects
Moreover, businesses and creatives often use Light Painting Photography to create standout visuals for marketing and social media campaigns. For example, fashion brands, local cafes, and event organizers may commission photographers to showcase unique light effects that bring out the creative edge of their products. Therefore, understanding the techniques and equipment necessary for Light Painting Photography is a powerful asset that can enhance both your commercial and personal project portfolios.
💡 Tips & Tricks: Light Painting Photography
Experiment with Different Light Sources
In addition to using flashlights and LED lights, experiment with other light sources like sparklers, neon tubes, and even smartphone screens. Using different colors and intensities can add an extra layer of creativity to your images. Moreover, this variety perfectly complements the idea of Creative Photography as you play with contrasts, shadows, and vibrant light effects.
Optimize Your Camera Settings
Pay close attention to your camera settings since they are crucial for mastering long exposure shots. It is advisable to continuously review your exposure time, aperture, and ISO settings. Therefore, adjusting these parameters based on the ambient light conditions will lead to better results. Additionally, use the live view mode on your camera to fine-tune your composition and to monitor light streaks in real time.
Steady Your Camera
A sturdy tripod cannot be underestimated when engaging in Light Painting Photography. Even though some may be tempted to shoot handheld for spontaneous shots, any slight movement can blur your artistic effect. As a result, always mount your camera on a stable base and consider using a remote shutter release to further minimize any camera shake. Consequently, this habit ensures that your long exposure remains crisp and compelling.
Choose Inspiring Locations
When planning a shoot, scout for locations that naturally compliment Light Painting Photography. Urban areas with reflective surfaces or rural landscapes with open skies can all add unique backdrops for your creative works. Moreover, choose spots that offer stability and interesting architecture or nature details. By doing so, you integrate practical elements of Outdoor Photography with Night Photography techniques.
📸 Sample Scenario
Envisioning an Urban Nightscape
Imagine planning a Light Painting Photography session in a vibrant urban setting after sunset. You arrive at a location where neon signs and city lights create a dynamic canvas. First, you mount your camera on a tripod and set it to a 15-second exposure. With a variety of LED lights and a remote shutter, you begin to trace creative patterns in the air, forming abstract designs that blend seamlessly with the city’s energy. As a result, the final image captures both the power of Long Exposure Photography and the imagination of Creative Photography.
Building a Story with Light
Additionally, this scenario teaches you to think beyond mere technical settings. The process of sequentially drawing with light transforms into storytelling. Each streak you create represents a moment captured over time. Therefore, this sample vividly demonstrates how to incorporate multiple components—Techniques, Equipment, and Camera Settings—to produce a piece of art that resonates with emotion and energy.
✅ Key Do’s for Effective Usage
Do Practice Frequently
Practice is essential when mastering Light Painting Photography. Regular experimentation allows you to explore various light intensities, colors, and motion effects. In particular, frequent practice with different settings helps ensure you capture the best aspects of Night Photography and Creative Photography. Furthermore, each session provides valuable experience, bridging the gap between technical know-how and creative expression.
Do Experiment with Angles and Perspectives
Always be willing to change your point of view. Experimenting with camera angles can dramatically alter the storytelling element of your image. For example, shooting from a low angle might emphasize the flow of light while capturing more of the background, thereby reinforcing the essence of Outdoor Photography techniques. Therefore, adaptability in composition is a vital do in your creative journey.
Do Use Manual Focus
Since autofocus can struggle in low-light settings, using manual focus is highly recommended. This method provides more control and ensures your subjects and light strokes remain sharp in your final image. Additionally, this approach helps minimize any potential misfires during long exposures. Therefore, by actively setting your focus manually, you can enhance the overall quality of your Light Painting Photography.
❌ Common Mistakes to Avoid
Not Securing the Camera Properly
One of the most frequent mistakes in Light Painting Photography is failing to secure the camera on a stable tripod. Without proper stabilization, even slight movements can cause blurriness in long exposure images. As a result, you might end up with an image that is neither crisp nor capable of conveying the intended light trails. Therefore, always double-check your setup before starting any shoot.
Overcomplicating the Composition
Another common pitfall is overcomplicating the creative process. Sometimes, photographers try to incorporate too many elements into one shot. Consequently, the final image lacks focus and coherence. It is vital to maintain clarity; choose one central idea and let the light painting complement rather than overpower the scene. Remember, simplicity often leads to a more striking composition.
Ignoring Ambient Lighting
While creative light sources are important, neglecting the ambient lighting of your environment can disrupt the balance of your image. Therefore, ensure that your background and surrounding lights are well-considered. Improper handling of ambient light might lead to an image where the creative strokes blend into an overly bright or dark background, diminishing the overall impact.
🔄 Troubleshooting & FAQs
Why is my light painting image blurry?
A common cause of blurry images in Light Painting Photography is camera movement during long exposure. To avoid this, ensure your camera is properly mounted on a tripod and use a remote shutter release. Additionally, double-check your manual settings to ensure the shutter speed is optimal for the ambient lighting conditions.
How can I improve the brightness of my light trails?
If your light trails appear too faint, consider increasing the exposure time or using a brighter light source. Moreover, adjust the ISO settings gradually until you achieve the desired brightness while ensuring minimal noise in your image. Experimenting with different distances and angles for your light source often yields the best results.
What equipment do I need to start with Light Painting Photography?
Begin with a DSLR or mirrorless camera that offers full manual controls. Other essential equipment includes a sturdy tripod, a remote shutter release, and various light sources like flashlights, LED sticks, or glow sticks. As you progress, investing in specialized gear such as adjustable tripods and high-capacity batteries can further enhance your creative endeavors.
Can I combine Light Painting Photography with other photography styles?
Yes, many photographers combine Light Painting Photography with other styles such as Night Photography, Long Exposure Photography, and Creative Photography. By experimenting with blending influenced elements and various techniques, you can create hybrid images that capture the uniqueness of each style. This versatility adds an exciting dimension to your portfolio.
🖼️ Bringing It All Together
Final Thoughts on Mastering Light Painting Photography
Ultimately, mastering Light Painting Photography requires patience, practice, and a willingness to experiment. As you refine your techniques, you will notice improvements not only in the quality of your long exposure works but also in your overall understanding of Night Photography and Creative Photography. Every shot becomes an opportunity to tell a story through dynamic light trails and expertly captured details.
By embracing these steps and insights, you are well on your way to producing breathtaking images that showcase the magic of Light Painting Photography. In addition, leveraging techniques from Night Photography, Long Exposure Photography, and Creative Photography will set your work apart. Now is the time to step out of your comfort zone, explore innovative techniques, and let your creativity shine under the night sky.


![[Breathtaking Landscape Photography Sunrise] [Sunrise over a mountain valley with wildflowers in the foreground — landscape photography showing golden-hour light and wide-angle composition.]](https://lenslesson.com/wp-content/uploads/2025/12/landscape-photography-breathtaking-sunrise-scene.png)
![[Level Up Your Skills Workspace] [Person at desk using laptop and notebook to level up your skills]](https://lenslesson.com/wp-content/uploads/2025/12/level-up-your-skills-planning-workspace.png)
![[Daily Creative Inspiration Journaling] [Person journaling at a sunlit desk capturing daily creative inspiration with a notebook and coffee.]](https://lenslesson.com/wp-content/uploads/2025/12/daily-creative-inspiration-journaling-ideas.png)
![[Post Processing Essentials Demo] [Photographer editing images on a monitor demonstrating post processing essentials workflow]](https://lenslesson.com/wp-content/uploads/2025/12/post-processing-essentials-overview.png)