Advanced Techniques for Stunning Images: Pro Photography & Editing Guide — Stunning Images

📝 Step-by-Step Guide: Stunning Images Creation Workflow
Introduction & Objectives
Stunning Images begin with clear intent. In this guide you will learn how to combine advanced photography techniques and image editing techniques to produce consistently compelling results. The workflow below covers pre-production, capture, lighting techniques, composition, color grading, retouching, and post-processing — all optimized for professional output.
Step 1 — Concept & Pre-Production
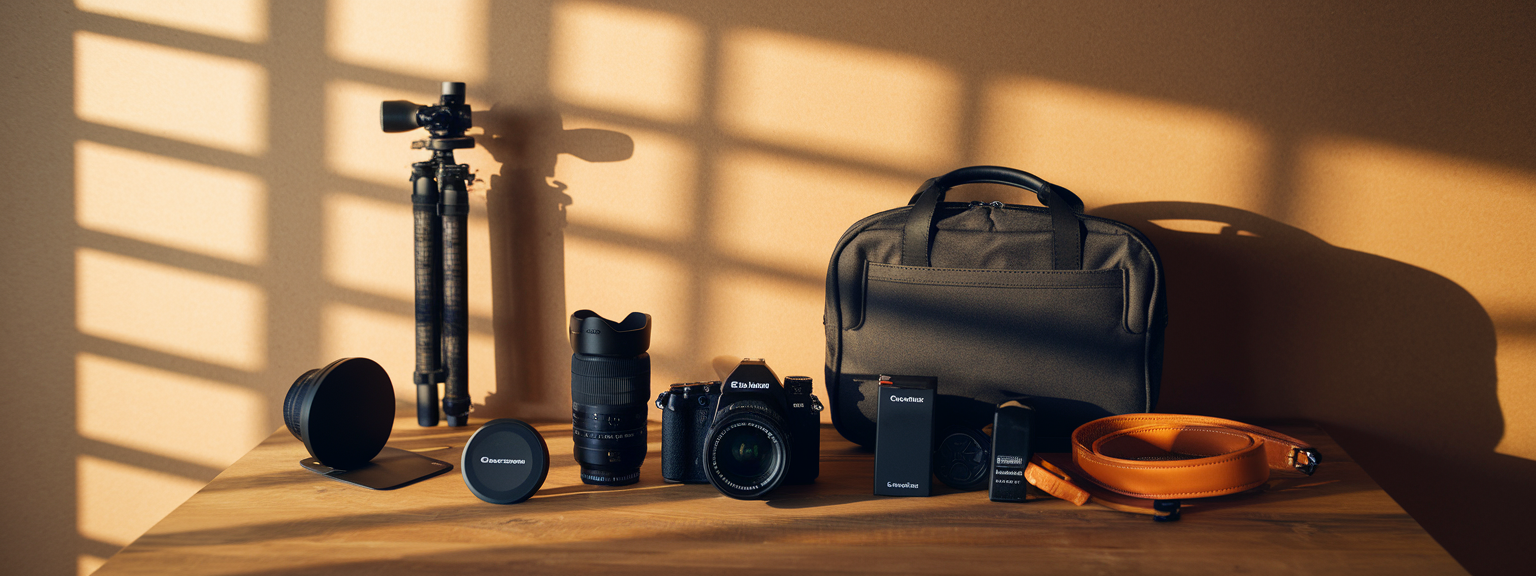
Define the project goal (commercial, editorial, portfolio) and assemble a moodboard. Choose references that show desired lighting techniques, composition, and color grading. Scout locations with the final image in mind. Prepare a gear list with lenses, modifiers, and tethering tools so you can execute advanced photography techniques on set.
Step 2 — Camera Settings & Capture Strategy
Always shoot RAW to preserve dynamic range. Select aperture for depth of field and shutter speed to control motion. Use exposure bracketing for high dynamic range scenes and focus stacking for macro or architectural work. Set a neutral or custom white balance using a Gray Card for consistent skin tones during color grading.
Step 3 — Lighting Techniques & Setup
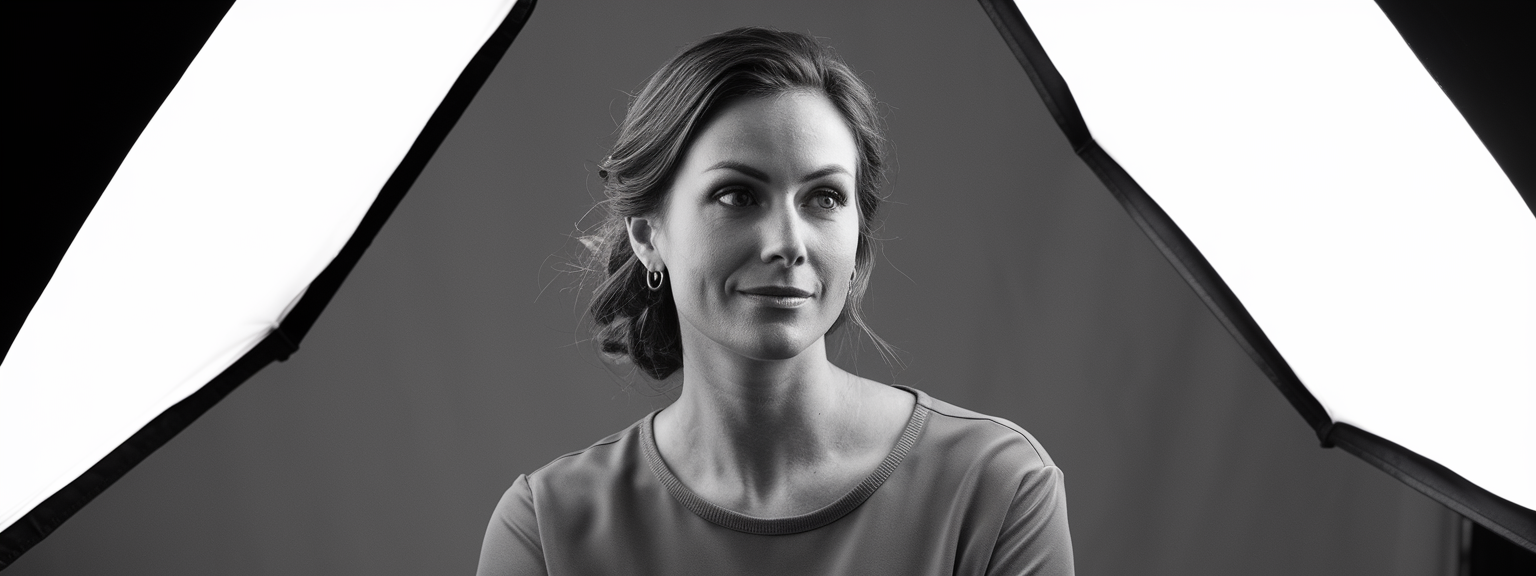
Light is the primary tool for mood. Use softboxes, beauty dishes, and grids to shape light. Implement a 2:1 or 3:1 light ratio depending on desired contrast. For outdoor shoots, combine natural golden hour light with off-camera flash for separation. Prioritize modifiers that support your composition and subject separation.
Step 4 — Composition & Lens Choices
Choose lenses that support your framing goals: 85–135mm for portraits, 16–35mm for landscapes, and tilt-shift for architecture. Use leading lines, negative space, and layering to add depth. Correct perspective where needed during capture with tilt-shift, or in post using lens correction tools.
Step 5 — Capture Hygiene & Backup
Tether when possible. Inspect histograms and highlights on a calibrated monitor or tethered display. Duplicate files in-camera or offload to a laptop immediately to follow the 3-2-1 backup rule and protect original RAW files for post-processing and long-term archive.
Step 6 — Import, Culling & RAW Workflow
Import with embedded metadata and use a consistent rating system. Cull for expression and composition first, then technical quality. Apply lens corrections, basic exposure adjustments, and low-level noise reduction. Keep global edits conservative to preserve headroom for color grading and local adjustments.
Step 7 — Advanced Editing: Color Grading & Retouching
Begin grading by balancing skin tones and establishing a base look. Use HSL tools to refine hue, saturation, and luminance. Apply frequency separation to manage texture vs. tone for natural retouching. Dodge & burn selectively to sculpt form and maintain realistic skin detail during retouching.
Step 8 — Output, Sharpening & Export
Sharpen at the end of your workflow and use output-specific sharpening for web or print. Convert to sRGB for web and to the printer’s profile for high-end output. Export multiple sizes and formats with metadata embedded and consider watermarking where appropriate.
📌 Practical Applications: Stunning Images For Photography And Design
Portraits & Editorial
For portraits, prioritize lens selection (85–135mm) and shallow depth of field. Use soft key lighting with a subtle fill to maintain texture. Employ frequency separation and controlled color grading to achieve polished skin while retaining pores. Stunning Images in portraiture require both careful lighting techniques and disciplined retouching.
Product & E-commerce
Use light tents and stripboxes for consistent reflections and soft shadows. Implement focus stacking for edge-to-edge sharpness. For image editing techniques, remove dust and stray highlights, and ensure accurate white balance for product color fidelity.
Landscape & Cityscape
Tripod-based capture at f/8–f/11 and low ISO yields maximum sharpness. Use graduated ND filters or exposure bracketing for dynamic range control. During post-processing, apply selective color grading and contrast adjustments to emphasize depth and mood while avoiding oversaturation.
Architecture & Real Estate
Use tilt-shift lenses or software perspective correction. Bracket exposures to capture window highlights and interior shadows. Blend flash with ambient light when necessary to achieve even exposure and natural color rendition in the final image.
💡 Tips & Tricks: Stunning Images Techniques For Pros
Previsualization & Capture Shortcuts
Previsualize the final color grade while shooting. Expose slightly flatter to leave highlight and shadow detail for color grading. Use custom camera profiles and a Gray Card to achieve consistent skin tones across a session.
Non-Destructive Editing & Templates
Use smart objects and adjustment layers in Photoshop. Save action stacks and presets for repeatable looks. Build LUTs only after you finalize your color grade on representative files to ensure accuracy for a full shoot.
Advanced Masking & Local Adjustments
Use luminosity masks to protect highlights and selectively increase midtone contrast. When compositing, match grain, color temperature, and perspective to create seamless final images.
Sharpening & Noise Management
Apply capture sharpening early and creative sharpening late. Use luminosity-only sharpening to avoid color artifacts. For high-ISO images, apply targeted noise reduction on chroma channels and preserve luminance detail.
Color Grading Practices
Use HSL to isolate skin hues and maintain natural skin tones while enhancing background saturation. Employ subtle teal-orange splits for cinematic looks, and always tweak LUTs rather than applying them blindly.
📸 Sample Scenario
Scenario Overview
This sample demonstrates the full pipeline for a golden-hour editorial portrait intended to become one of your most consistent Stunning Images. It covers capture, lighting techniques, and a detailed editing chain for web and print delivery.
On-Set Capture
Use an 85mm f/1.4 or 70–200mm for distance flexibility. Baseline settings: ISO 100, f/2.8, 1/200–1/400s. Key light: strobe with 3×4′ softbox at 45°; reflector on fill side; rim light with grid for hair separation. Bracket ±1 stop and capture a few fully backlit exposures for creative options in post.
Post-Processing Workflow
Start in Lightroom or Capture One for base RAW corrections: minor exposure adjustment, highlight recovery, and lens corrections. Move to Photoshop as a smart object for frequency separation, dodge & burn, and local sharpening. Finish in Lightroom with final color grading, curves, and output sharpening tailored to the destination.
✅ Key Do’s for Effective Usage
Do: Capture with Intention
- Do shoot RAW for maximum latitude in color grading and retouching.
- Do bracket exposures or focus stack when the scene exceeds your sensor’s limits.
- Do use a Gray Card or ColorChecker to set consistent white balance across a session.
Do: Build Non-Destructive Workflows
Use adjustment layers, smart objects, and keep layered PSDs for future edits. Save presets and LUTs only after validating them across multiple images to ensure they perform consistently for Stunning Images.
❌ Common Mistakes to Avoid
Overprocessing & Preset Reliance
Avoid heavy-handed LUTs and one-click presets. They can produce inconsistent skin tones and unnatural color grading. Instead, use presets as starting points and fine-tune using local adjustments.
Excessive Sharpening & Texture Loss
Sharpening at the wrong stage can introduce halos and emphasize noise. Check sharpening at 100% and tailor output sharpening to the final image size to avoid artifacts that degrade Stunning Images.
Ignoring Color Management
Working without consistent ICC profiles will cause images to display differently across devices. Calibrate monitors and embed the correct profile on export to ensure color accuracy for both web and print.
🔄 Troubleshooting & FAQs
Why do my images look flat after editing?
Flat images usually lack contrast and micro-detail. Add a gentle S-curve in the tone curve, increase local contrast with dodge & burn, and adjust texture or clarity sparingly. Also confirm your monitor is calibrated; otherwise edits may mislead you.
How can I maintain natural skin texture while retouching?
Use frequency separation to separate texture from tone. Work on the low-frequency layer for smoothing and the high-frequency layer for discrete blemish removal. Avoid broad softening and reintroduce subtle texture where necessary.
What are the best tools for noise reduction and sharpening?
Topaz Denoise AI and Sharpen AI are effective for targeted noise and sharpen tasks. Adobe Camera Raw and Capture One also provide strong denoise and sharpening controls. Use AI tools for refinement, not as a replacement for proper capture technique.
How do I avoid color banding during grading?
Work in 16-bit where possible and avoid extreme gradient pushes. Introduce a touch of film grain if banding appears. When converting to 8-bit for web, use dithering to reduce visible banding.
Voice-search friendly Q&A (examples)
Q: What are the best advanced photography techniques for high dynamic range scenes?
A: Use exposure bracketing with manual blending or HDR merge, and consider graduated ND filters. Capture in RAW and blend using masks in Photoshop for natural-looking results.
Q: What AI tools help photographers be more productive?
A: Adobe Sensei (Lightroom/Photoshop), Topaz Labs, ImagenAI, and Luminar AI accelerate culling, masking, denoising, and selective edits. However, always review AI output and refine to preserve your artistic intent.
🖼️ Bringing It All Together
Workflow Checklist
- Pre-shoot: finalize moodboard, confirm permits, and check gear.
- On-set: shoot RAW, use Gray Card, bracket exposures, and tether when possible.
- Post-shoot: backup, cull, RAW adjustments, retouch, grade, and export with correct profiles.
Final Thoughts
Creating Stunning Images is a repeatable process. Attention to capture, disciplined lighting techniques, precise composition, and a layered, non-destructive editing approach lead to reliable, high-quality results. Practice the steps in this guide, adapt them to your workflow, and maintain a growth mindset to continuously improve.

![[sports-photography-action-shot] [Photographer using a telephoto lens to capture a fast break at a basketball game — Sports Photography]](https://lenslesson.com/wp-content/uploads/2025/12/sports-photography-action-shot-telephoto-basketball.png)
![[Travel photography sunrise capture] [Photographer capturing sunrise landscape during a travel photography trip with a mirrorless camera]](https://lenslesson.com/wp-content/uploads/2025/12/travel-photography-sunrise-shot-essentials.png)
![[Photo Tips Sharper Shots] [Close-up of a photographer adjusting camera settings - Photo Tips for sharper shots]](https://lenslesson.com/wp-content/uploads/2025/12/photo-tips-better-photos-smartphone-composition.png)
![[Urban Street Photography Moment] [Photographer capturing a candid moment on a busy city sidewalk — street photography scene]](https://lenslesson.com/wp-content/uploads/2025/12/street-photography-candid-urban-moment.png)
