
Getting Started With Camera: Beginner’s Ultimate Guide to Photography
When you begin getting started with camera features, it can feel like stepping into a fascinating new world. Photography is not only about pressing a button; it’s about learning essential camera basics, applying beginner photography techniques, and developing an eye for composition. With the right foundation, you can transform simple shots into compelling images and gain the confidence to learn photography effectively. This comprehensive guide provides a structured roadmap to help you navigate camera setup, key settings, and practical scenarios so that you can progress confidently as a beginner.
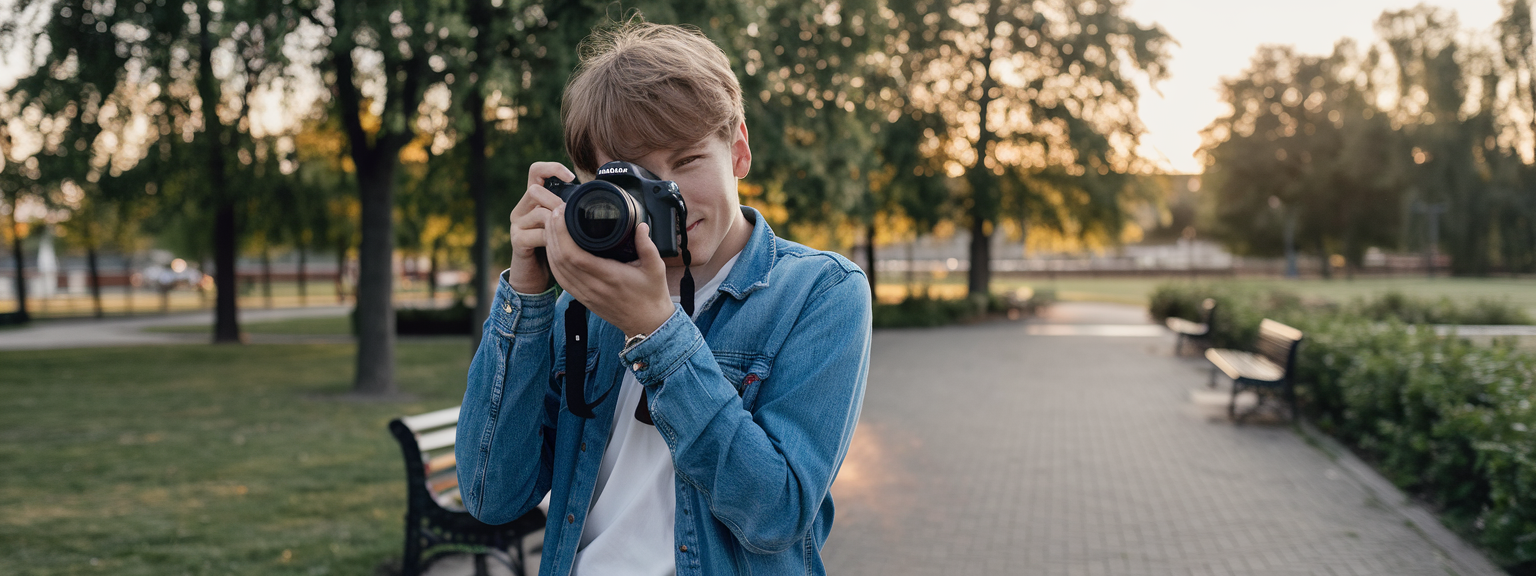
📝 Step-by-Step Guide: Getting Started With Camera
Unboxing and Initial Setup
The first step in DSLR setup or mirrorless configuration is to prepare your gear properly. Charge your battery fully to prevent interruptions, insert a compatible memory card (preferably a high-speed card for faster performance), and carefully attach your lens using the designated alignment markings. Taking time to set up your camera correctly ensures optimal performance and prevents common issues such as lens errors or data corruption.
Learn the Core Camera Parts
- Viewfinder – where you compose and frame your scene.
- Main Dial – helps adjust shutter speed, aperture, or exposure compensation easily.
- Shutter Button – the central button used to capture the image.
- ISO/Drive Controls – essential for light adjustments and burst shooting.
Understand the Exposure Triangle
Light management defines photography. The three core parameters—aperture, shutter speed, and ISO—form the “exposure triangle.”
- Aperture (f-stop) – controls lens opening size, affecting depth of field.
- Shutter Speed – controls motion in the frame by adjusting exposure time.
- ISO – determines sensor sensitivity to light but may introduce noise at higher levels.
Practice with Camera Modes
- Auto Mode – useful for quick snapshots without adjustments.
- Aperture Priority (A/Av) – set aperture; the camera adjusts other parameters.
- Shutter Priority (S/Tv) – control shutter speed, ideal for action or movement.
- Manual Mode – complete freedom and the best way to truly learn photography.
📌 Practical Applications: Getting Started With Camera
Portrait Photography
Switch to Aperture Priority with settings between f/2.8 and f/4 for pleasing background blur. Keep ISO low outdoors (100–200) and increase for indoor lighting conditions. Focus specifically on the subject’s eyes to ensure sharp detail.
Landscape Photography
Use narrower apertures such as f/8–f/11 to achieve depth across the scene. Tripods support slower shutter speeds for clean and sharp images. The addition of filters can also enhance skies and water textures.
Street Photography
Choose Shutter Priority around 1/250s or faster. Rely on Auto ISO to quickly adapt to shifting light conditions. Anticipating action in candid scenes allows you to capture natural emotions and fleeting moments.
💡 Tips & Tricks: Getting Started With Camera
- Always shoot in RAW for maximum editing flexibility.
- Use the rule of thirds to improve composition and visual balance.
- Leverage natural light conditions such as golden hour for aesthetic warmth.
- Experiment with low or high perspectives instead of shooting everything at eye level.
📸 Sample Scenario
Imagine photographing a family picnic in bright conditions. Use Shutter Priority at 1/500s to freeze motion, keep ISO at 100 under sunlight, and work with an aperture around f/5.6. Activate burst mode to capture joyful candid interactions between children and family members, producing sharp images full of emotion.
✅ Key Do’s for Effective Usage
- Learn one control at a time to build layered knowledge.
- Carry spare batteries and memory cards.
- Clean lenses regularly using microfiber cloths to prevent image softening.
- Use a tripod for night shots or long exposures.
- Experiment regularly—growth comes from trial and error.
❌ Common Mistakes to Avoid
- Overusing Auto mode and neglecting creative settings.
- Shooting only from eye level without experimenting with angle dynamics.
- Raising ISO unnecessarily, leading to noisy images.
- Ignoring guiding composition principles.
- Skipping photo editing as an essential post-processing phase.
🔄 Troubleshooting & FAQs
Why are my photos blurry?
Blurriness usually results from slow shutter speeds or camera shake. Increase shutter speed or use a tripod for stability.
How can I fix dark photos?
Adjust one part of the exposure triangle—raise ISO, widen aperture, or slow the shutter. Each correction increases brightness, but balance is needed to maintain quality.
What is the ideal first lens to purchase?
Beginners often succeed with a 50mm f/1.8 lens. It is versatile, affordable, and excellent for practicing camera basics such as depth of field and light control.
What settings are best for indoor photography without flash?
Use a wide aperture (f/1.8–f/3.5), ISO between 800–1600, and shutter speeds faster than 1/100s to capture sharp images while minimizing blur.
Should I shoot in RAW or JPEG?
RAW files provide maximum detail and adjustment flexibility. JPEG compresses data and reduces editing potential, though it offers smaller file sizes and faster performance.
🖼️ Bringing It All Together
Mastering the essentials when getting started with camera will give you the confidence to handle any photo scenario. By focusing on the exposure triangle, practical applications, and steady practice with different modes, you can consistently improve your results. Mistakes will happen, but they are crucial milestones in the learning curve.
Photography is about consistent engagement, creativity, and technical understanding. With practice, experimentation, and reflection, you can move beyond beginner stages and discover your own style behind the lens.
Visit our Photography Content Hub
Smart Resize by SmartLink Basics iPhone or iPad app
“`


![[Sunrise over a mountain valley with wildflowers in the foreground — landscape photography showing golden-hour light and wide-angle composition.]](https://lenslesson.com/wp-content/uploads/2025/12/landscape-photography-breathtaking-sunrise-scene.png "[Breathtaking Landscape Photography Sunrise]")
![[Person at desk using laptop and notebook to level up your skills]](https://lenslesson.com/wp-content/uploads/2025/12/level-up-your-skills-planning-workspace.png "[Level Up Your Skills Workspace]")
![[Person journaling at a sunlit desk capturing daily creative inspiration with a notebook and coffee.]](https://lenslesson.com/wp-content/uploads/2025/12/daily-creative-inspiration-journaling-ideas.png "[Daily Creative Inspiration Journaling]")
![[Photographer editing images on a monitor demonstrating post processing essentials workflow]](https://lenslesson.com/wp-content/uploads/2025/12/post-processing-essentials-overview.png "[Post Processing Essentials Demo]")