Getting Started with Camera: Beginner’s Guide to Photography
Photography carries an incredible power – it allows us to pause time, narrate visual stories, and preserve memories in ways that words often cannot. If you are just getting started with camera knowledge, the challenge can feel intimidating. Terms like aperture, shutter speed, ISO, or manual mode may seem overwhelming at first. However, once you understand the fundamentals, beginner photography quickly becomes an enriching and enjoyable skill. This guide provides you with a structured and actionable path to understand camera basics, explore practical techniques, and build confidence while learning photography. By the end, you will be well-equipped to move beyond auto mode and use your camera effectively for creative storytelling.
📝 Step-by-Step Guide: Getting Started With Camera
Unboxing and Understanding Your Gear
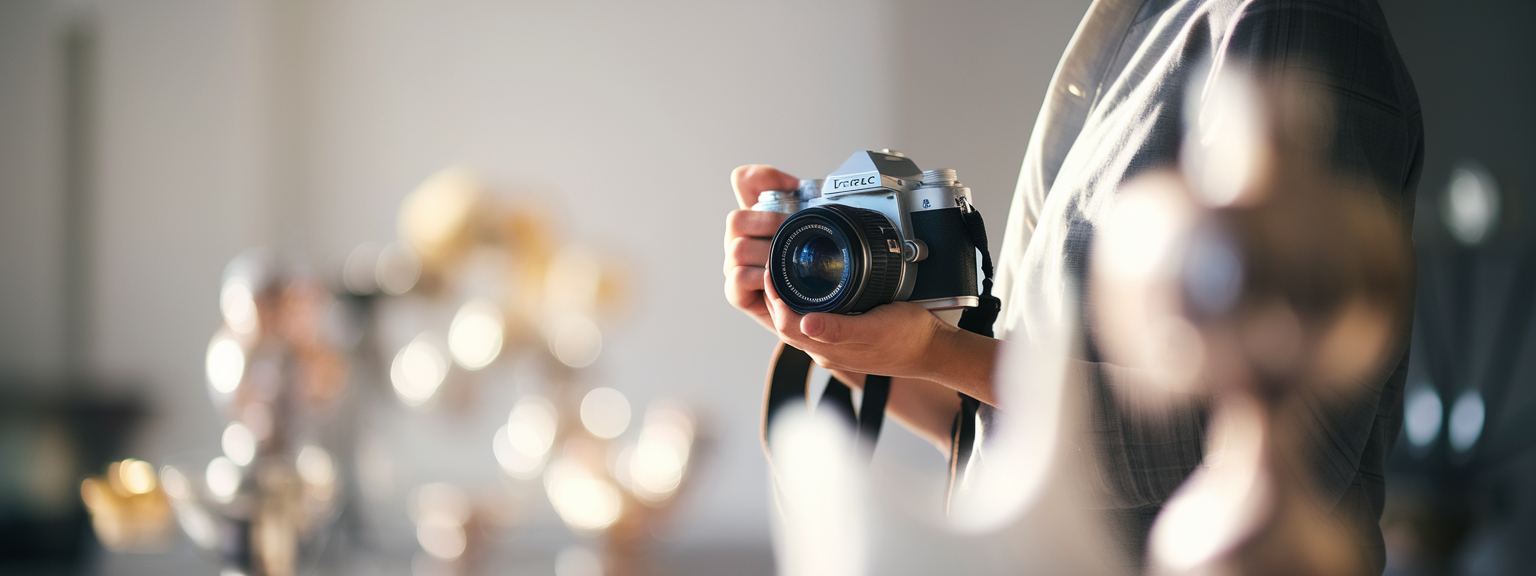
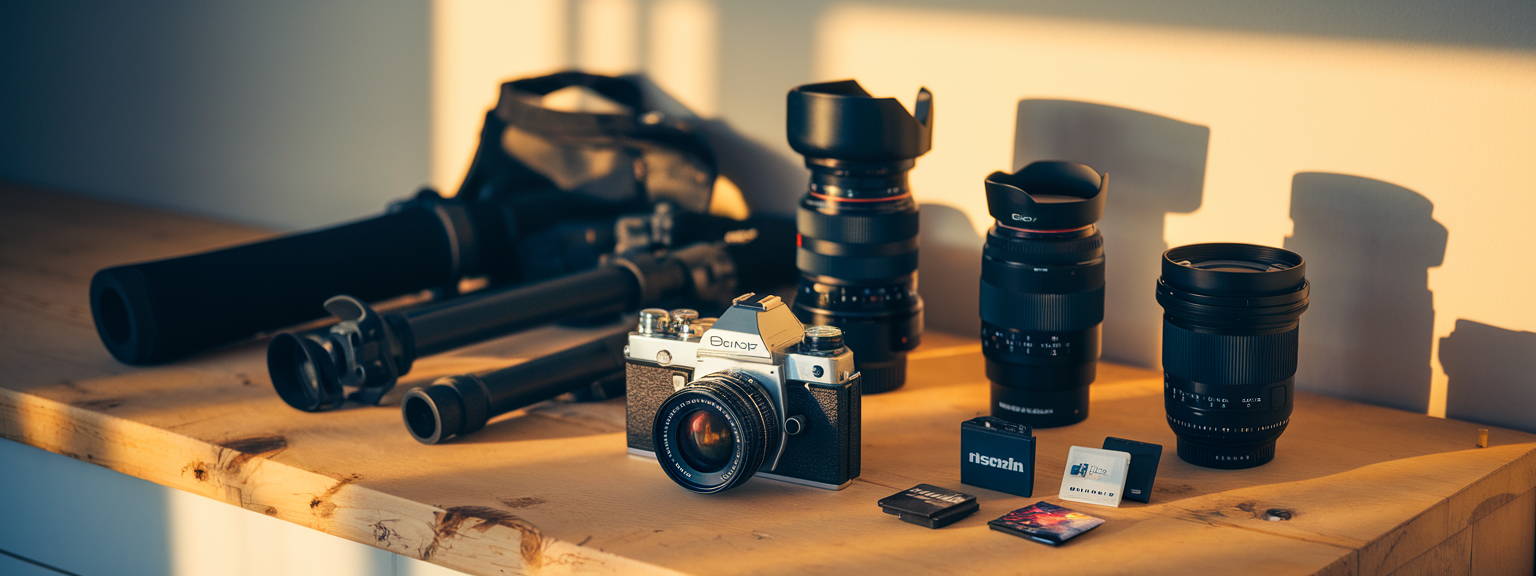
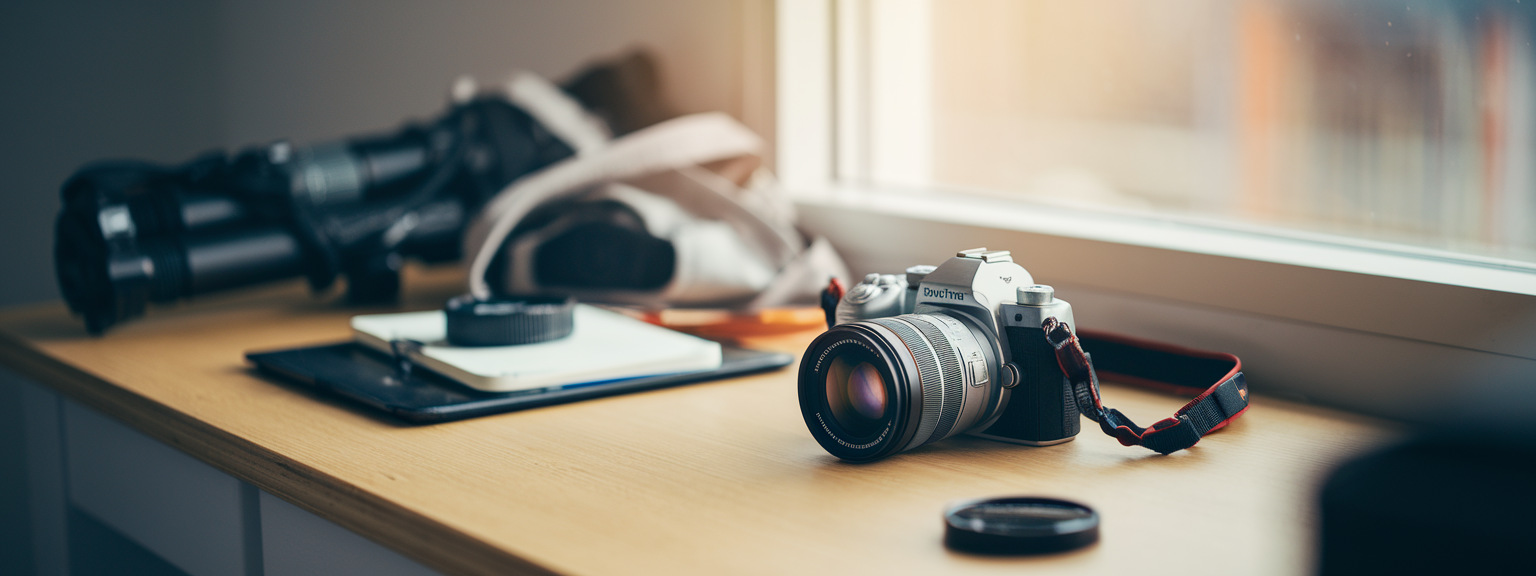
Start by familiarizing yourself with the essential components of your camera. Regardless of whether you use a DSLR, mirrorless, or compact camera, ensure you can locate the shutter button, mode dial, playback options, and main menu navigation. Understanding your gear builds confidence before diving into more complex techniques.
- DSLR cameras use optical viewfinders, offering a traditional experience.
- Mirrorless cameras are lighter and rely on digital displays.
- Compact cameras are convenient but limit manual control.
Power Set-Up and Memory
Insert a fully charged battery and memory card. Always format your memory card in-camera. This reduces file writing errors and ensures optimal compatibility. Carry a spare card and battery to avoid interruptions while shooting.
Learning the Exposure Triangle
The foundation of beginner photography rests on mastering the exposure triangle: aperture, shutter speed, and ISO. These three settings determine how light interacts with your sensor. Together, they shape both the brightness of your photo and its overall creative style.
- Aperture: Controls how much light enters the lens, while also influencing depth of field (blurred vs. sharp background).
- Shutter Speed: Regulates how long light hits the sensor. Fast speeds freeze motion; slow speeds introduce motion blur.
- ISO: Adjusts your camera sensor’s sensitivity. Lower ISO ensures cleaner images; higher ISO helps in low light but may add noise.
Starting in Semi-Automatic Modes
Move gradually by using semi-automatic modes. Aperture Priority allows you to control depth of field, while the camera adjusts shutter speed. Shutter Priority lets you choose how movement is captured, with the camera balancing exposure for you. These modes provide control without overwhelming beginners.
Switching to Manual Mode
Once comfortable, advance to Manual Mode for unrestricted creative freedom. Manual shooting ensures that you make decisions on exposure, focus, and style. This is the most effective way to grow your technical and artistic skills.
Focusing Techniques
Focus is fundamental for every photograph. Learn the differences between manual focus (ideal for precise control) and auto-focus. For portraits, select a single-point AF on the subject’s eyes. For moving subjects, continuous AF prevents motion blur.
Composition Principles
Technical accuracy is only part of the equation. Composition techniques such as the Rule of Thirds, Leading Lines, and Framing elevate images. Ensure that both subject and background complement one another for visual impact.
📌 Practical Applications: Getting Started With Camera
Everyday Scenarios
Photography is best learned through consistency. Apply your new knowledge by capturing daily life — experimenting with natural light in the morning, or documenting evening cityscapes. Over time, repetition builds clarity and sharpens compositional instincts.
Travel and Landscape Photography
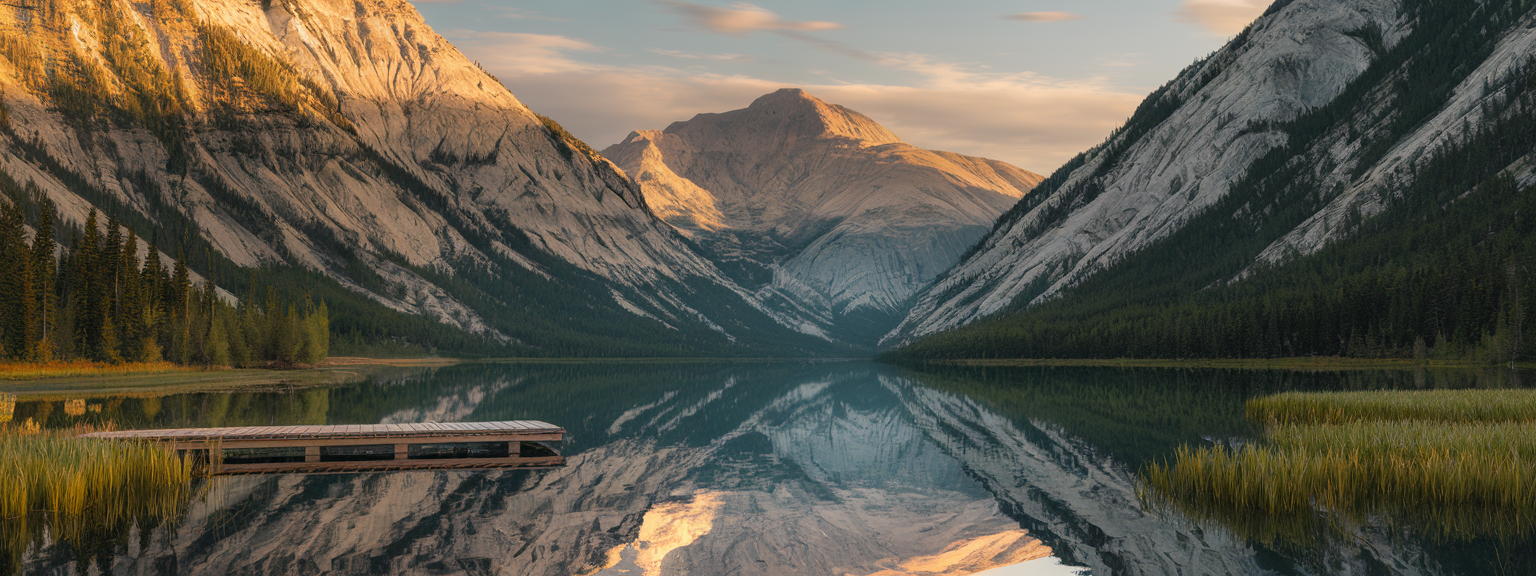
Outdoor locations are excellent practice environments. Use small apertures (f/8 and above) for sharp landscapes. Incorporate foreground elements like rocks, roads, or trees to provide depth. Sunrise and sunset are optimal times known as the golden hours.
Portrait Practice
Portraiture helps refine focus and light skills. Place your subject away from distracting backgrounds. Natural sidelight or window light enhances facial features and creates natural contrast. A 50mm prime lens remains highly recommended for beginners because of its sharpness and versatility.
💡 Tips & Tricks: Getting Started With Camera
- Shoot in RAW format to preserve detail and editing flexibility.
- Practice using natural light whenever possible.
- Check the background before pressing the shutter to avoid clutter.
- Carry spare batteries and memory cards at all times.
- Invest time in learning photography fundamentals before buying new gear.
📸 Sample Scenario
Imagine capturing your first portrait during an afternoon outdoors. Using Aperture Priority mode, set the aperture to f/2.8 and keep ISO around 100–200 for optimal clarity. Frame the subject’s eyes along the top third of your viewfinder. Use single-point autofocus and adjust exposure compensation slightly if shadows increase. This simple setup guarantees a shallow blurred background, directing attention to the subject’s face.
✅ Key Do’s for Effective Usage
- Do practice different lighting conditions frequently.
- Do read your camera manual thoroughly.
- Do save RAW files when serious about editing.
- Do carry portable storage and accessories for reliability.
- Do experiment with different perspectives and angles.
❌ Common Mistakes to Avoid
- Avoid relying only on AUTO mode as it prevents learning.
- Avoid ignoring small distractions in backgrounds.
- Avoid unnecessary use of flash indoors when natural light is available.
- Avoid neglecting lens cleanliness which may introduce unwanted spots.
- Avoid assuming expensive gear replaces fundamentals.
🔄 Troubleshooting & FAQs
Why are my photos blurry?
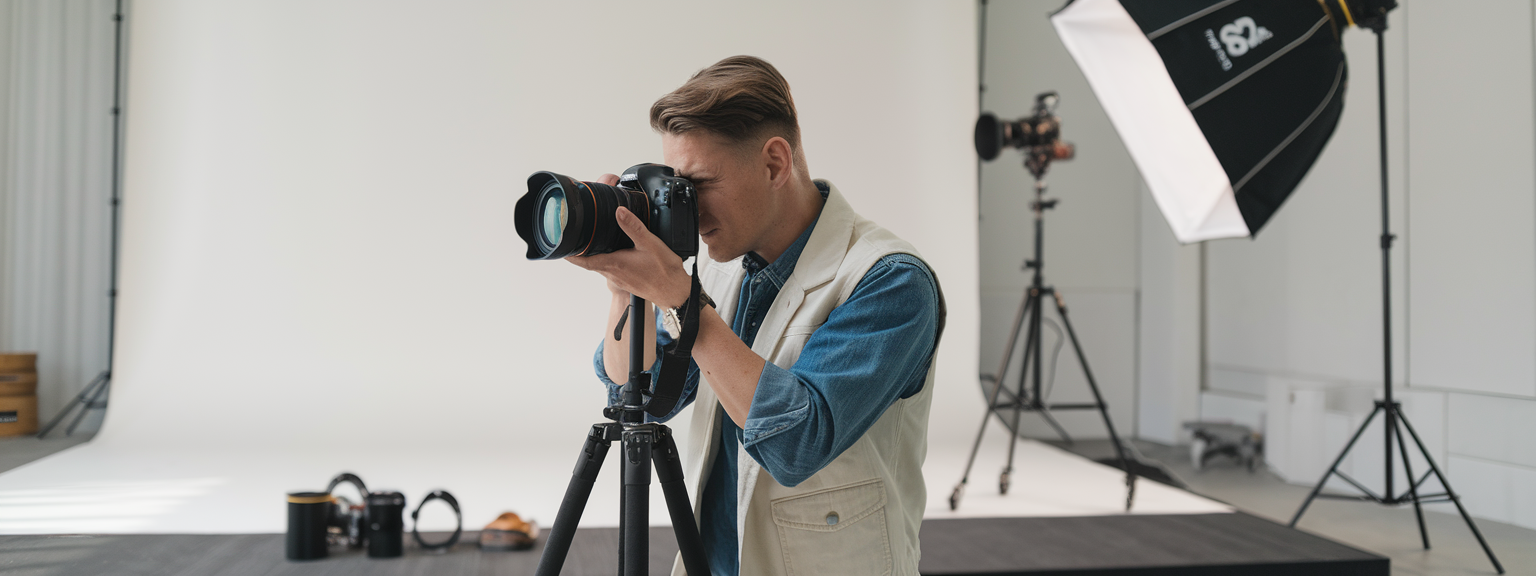
Blur often comes from slow shutter speeds or incorrect focus. Increase shutter speed, enable continuous autofocus for moving subjects, or use a tripod for low light photography.
What is the best beginner mode?
Aperture Priority serves as an excellent starting point for beginners as it allows learning depth of field while still letting the camera determine an appropriate shutter speed.
Should I shoot in RAW or JPEG?
RAW files give greater flexibility for editing exposure and color correction. JPEG is sufficient for casual users who prefer smaller file sizes and immediate usability. Beginners interested in learning post-processing should try RAW.
How do I choose ISO settings?
Use ISO 100–200 in daylight, ISO 400–800 indoors, and ISO 1600+ in low-light situations. Always balance ISO with aperture and shutter speed to minimize noise while keeping exposures accurate.
When should I upgrade my camera?
Upgrade only when your current setup restricts essential photography goals. For example, if your lens cannot capture wider angles or your camera lacks low-light capabilities that your work demands, then consider investing in an upgrade. Avoid premature upgrades.
🖼️ Bringing It All Together
Mastering photography requires understanding your camera, practicing consistently, and refining creative techniques. Each area covered—from exposure settings and manual adjustments to applied practice—contributes to becoming confident behind the lens.
Remember: compelling images are not just about perfect settings—they are about stories. The moment you start treating your camera as a storytelling tool, your journey shifts from technical to creative mastery. Photography is less about owning advanced equipment and more about refining your vision through disciplined practice.
Visit our Photography Content Hub
Smart Resize by SmartLink Basics iPhone or iPad app
“`

![[Travel Photography Sunrise Shot] [Photographer capturing a mountain sunrise with camera — travel photography]](https://lenslesson.com/wp-content/uploads/2025/10/travel-photography-sunrise-camera-essentials.png)
